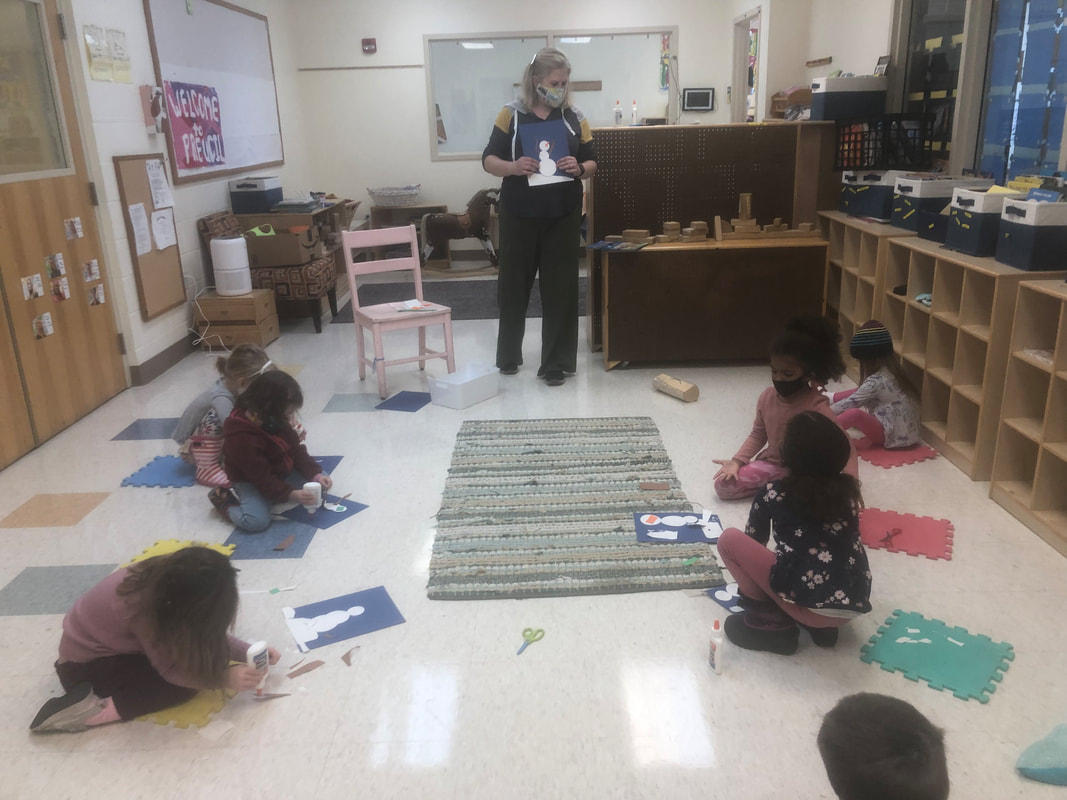
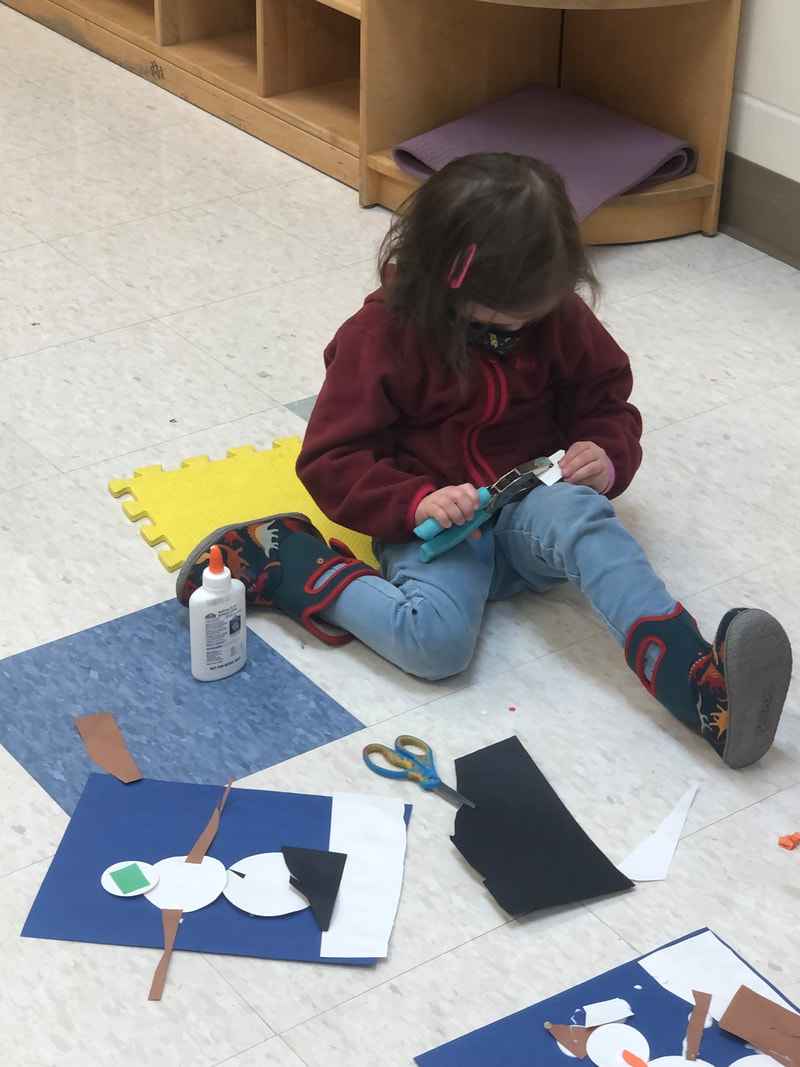
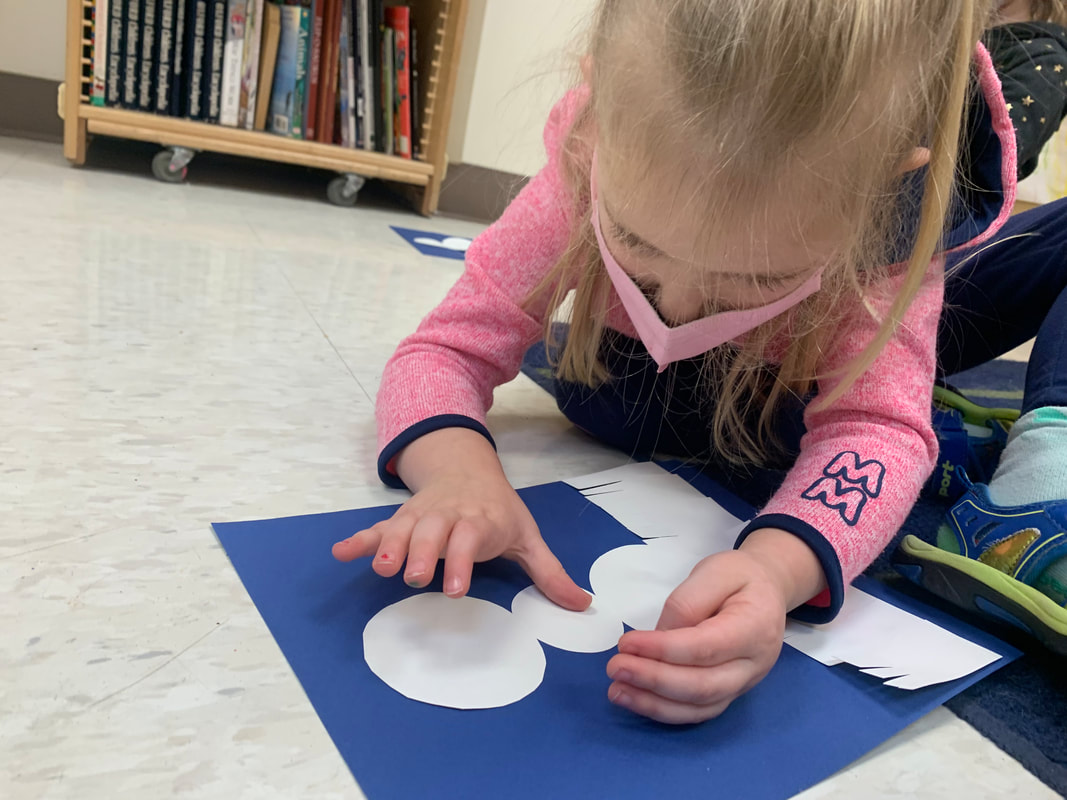
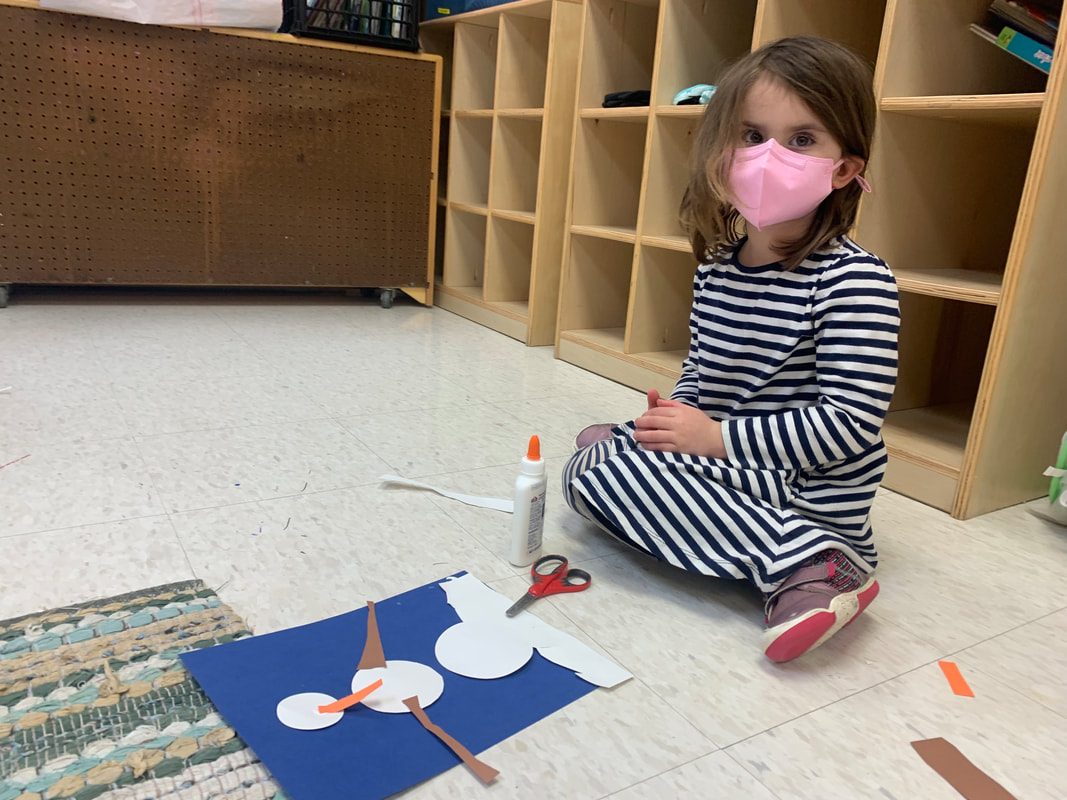
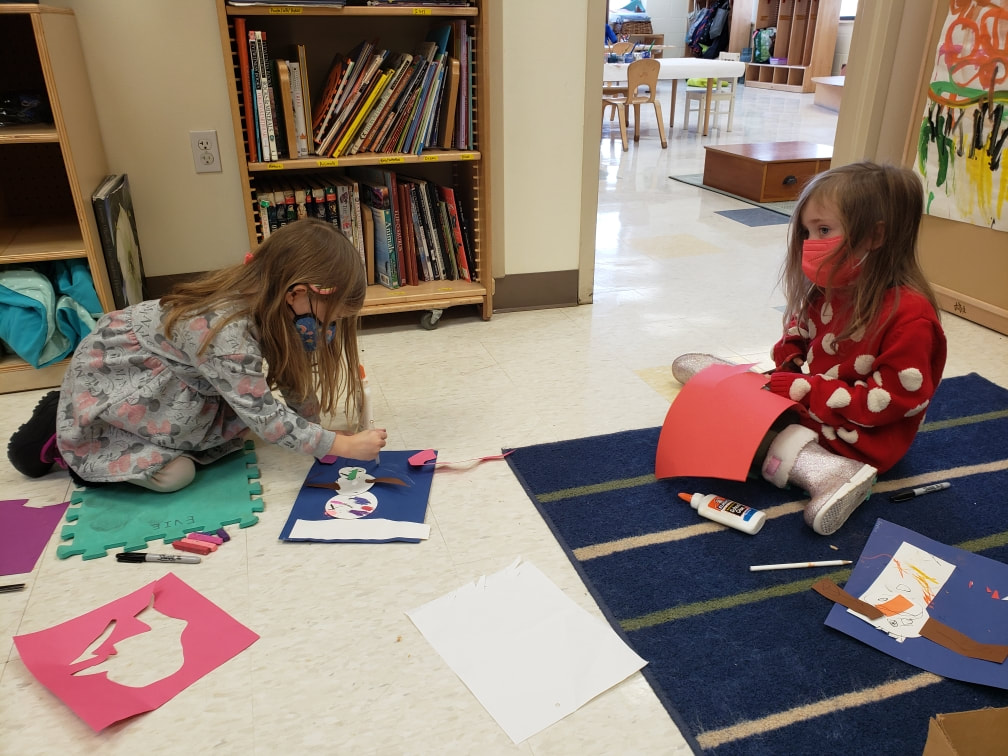
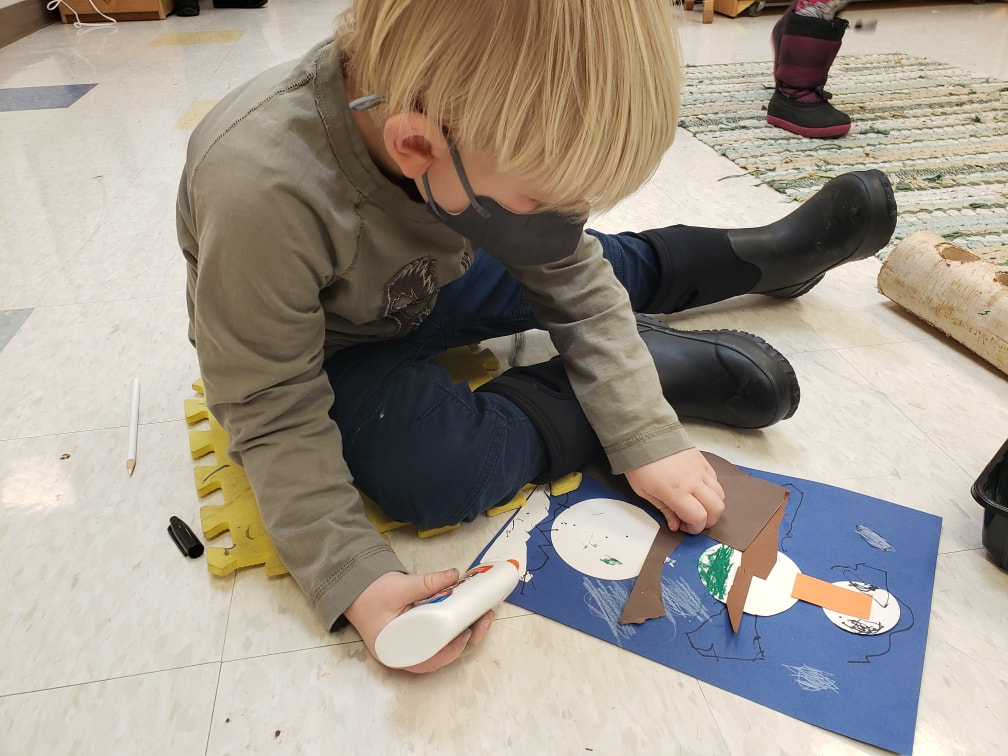
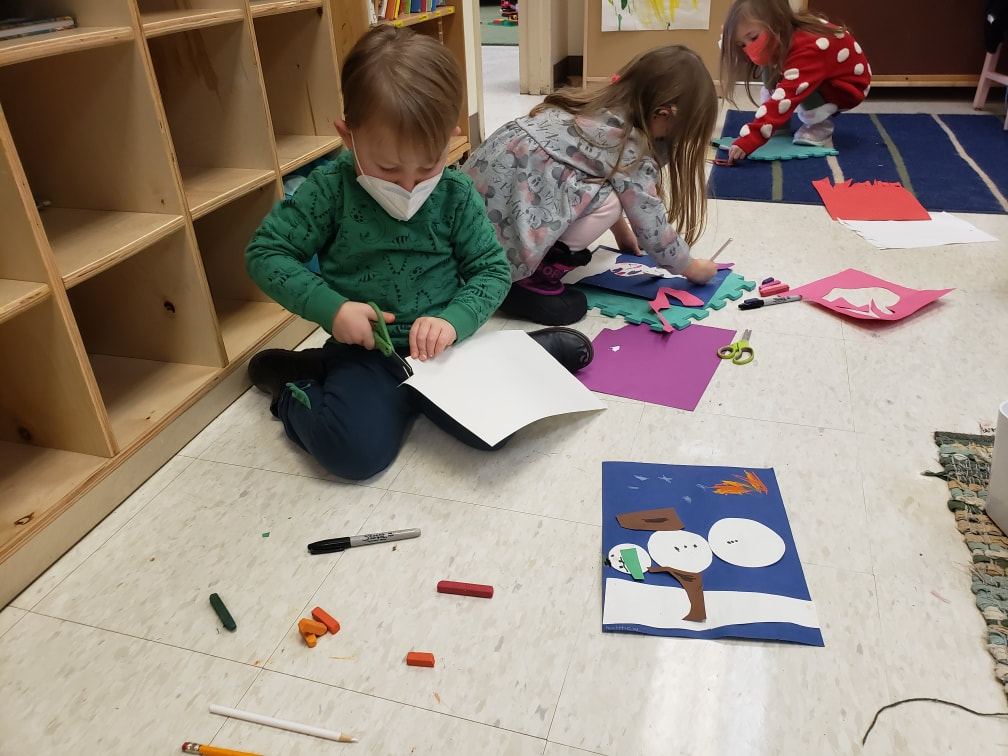
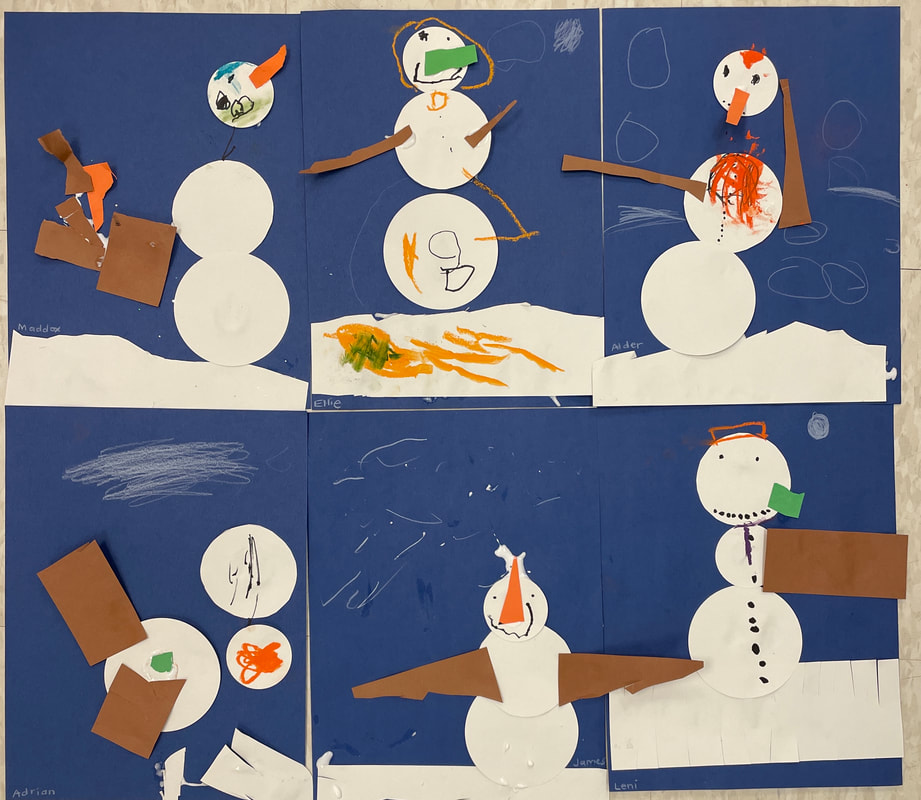
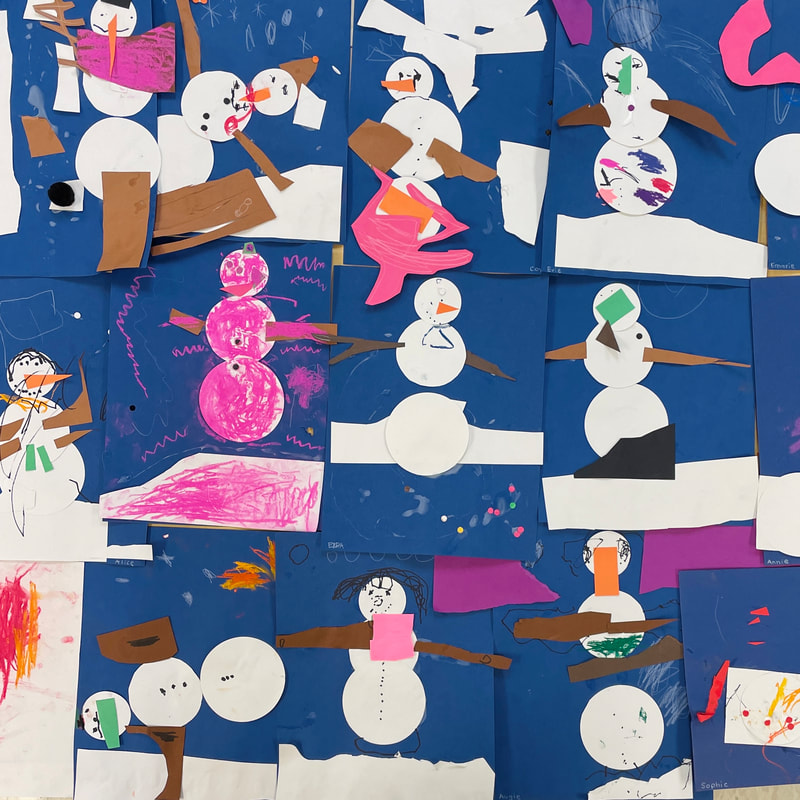
 There's been lots of snow and cold outside, and lots of wintery inspiration in our artwork this month! We started January with a favorite story - Snowmen at Night, that features snow people coming to life and having adventures while the rest of us are sleeping. Next, we made paper collages. The preschoolers received a blue background paper and 3 "snow" circles, then they glued them to the background and added a snowy horizon line, arms, noses (carrot or pickle!), and other fun details to tell the story of what their snow person was doing. The finished collages have so much personality!
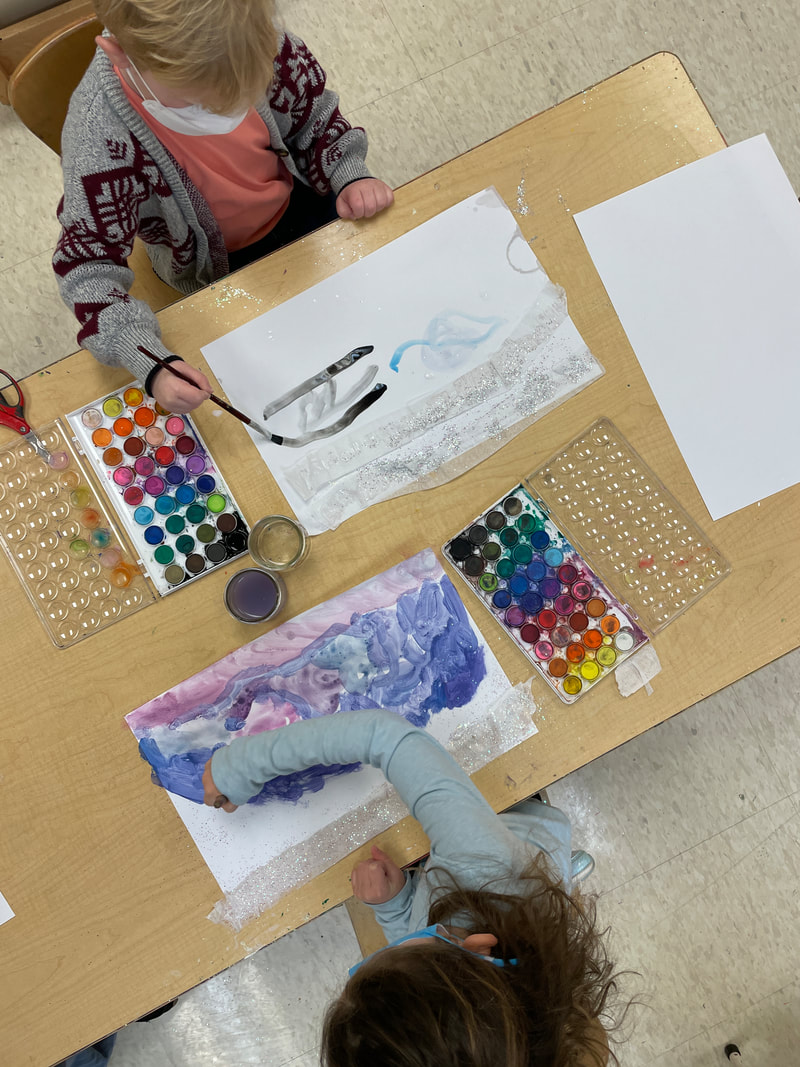
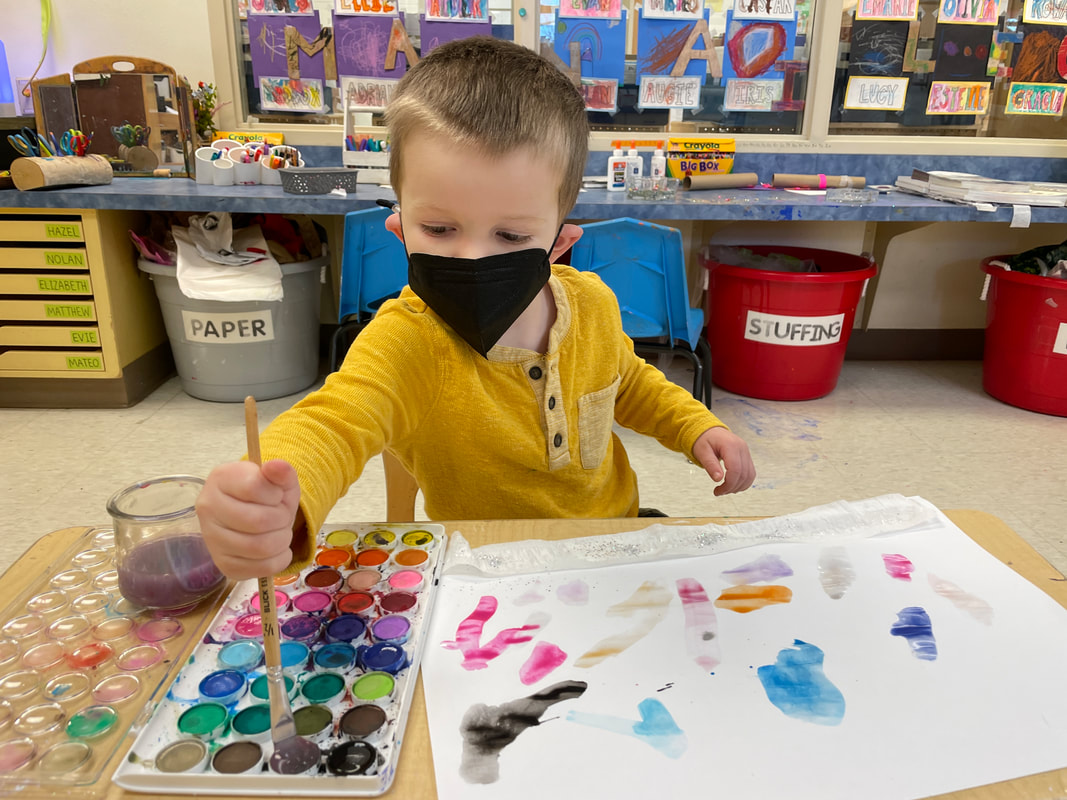
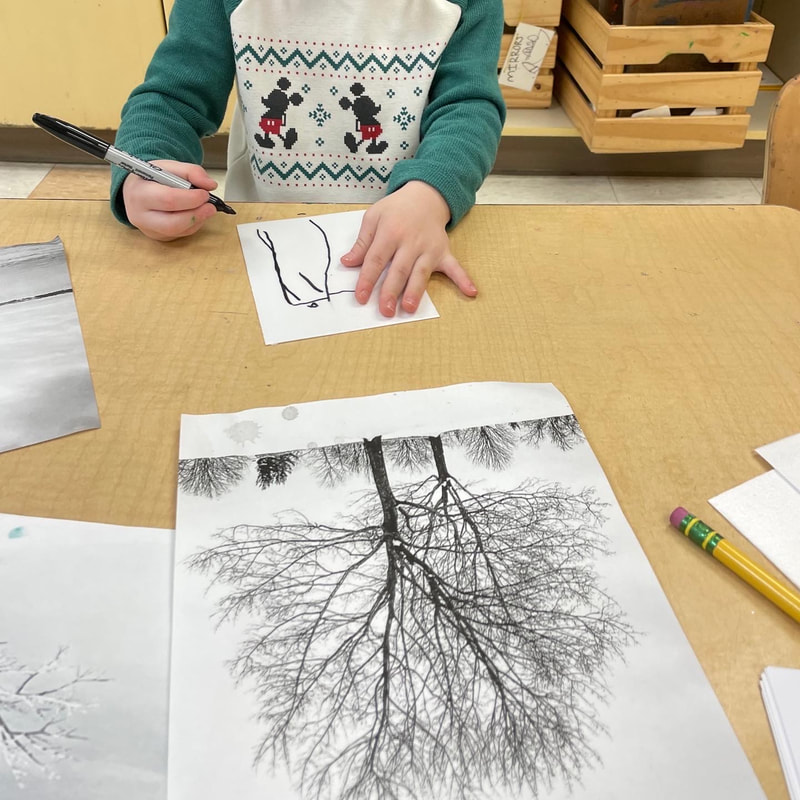
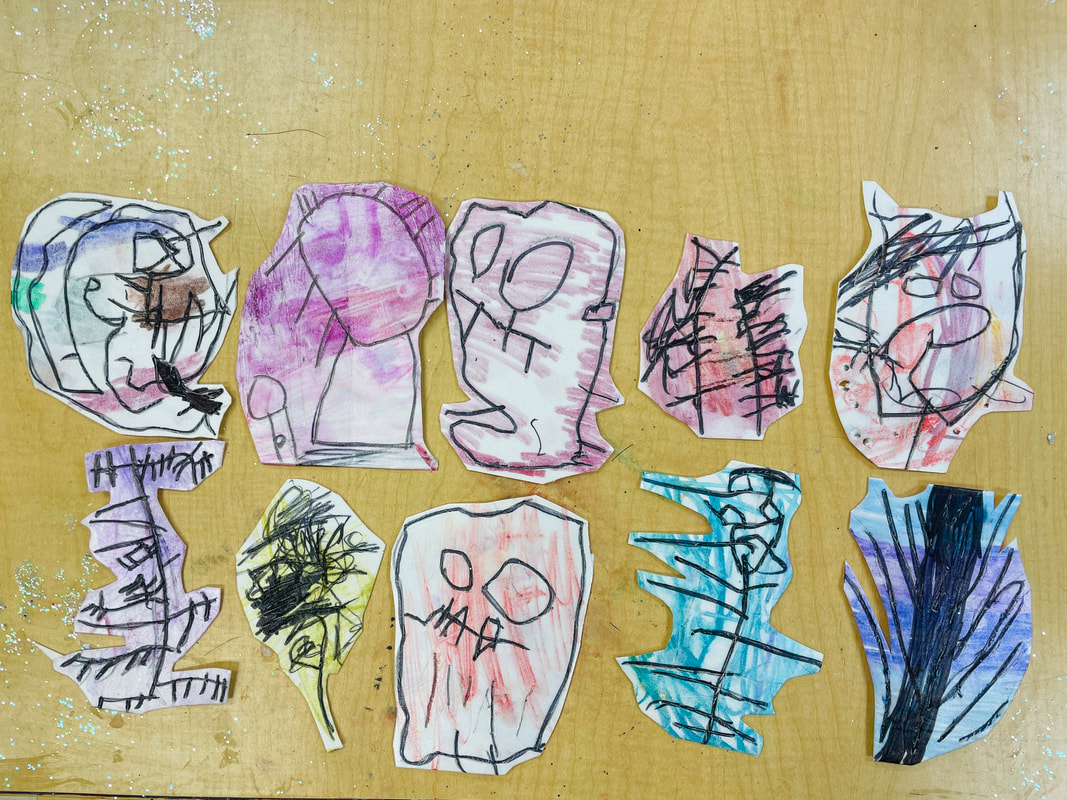
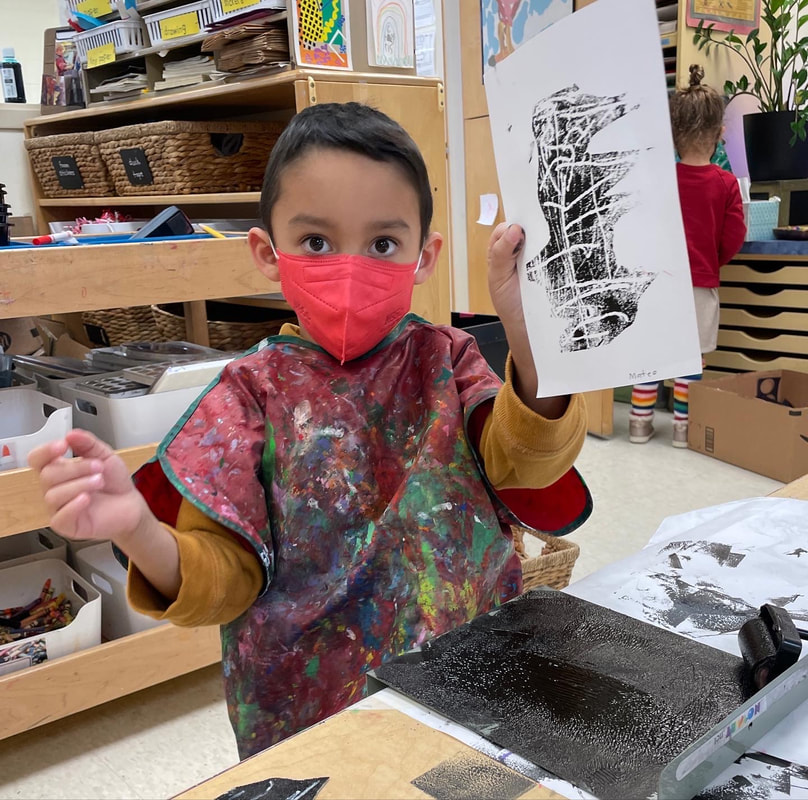
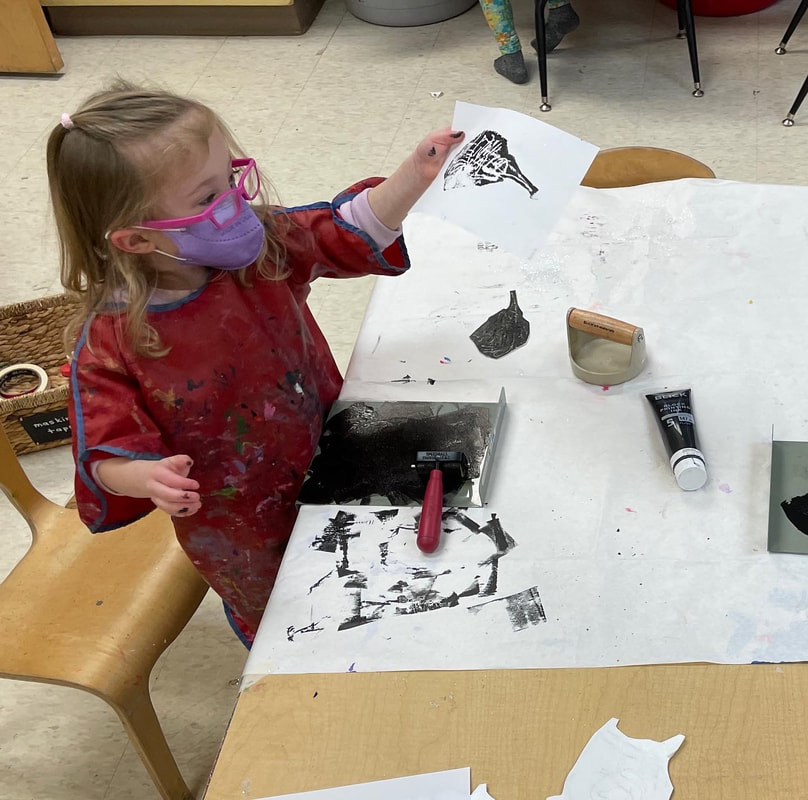
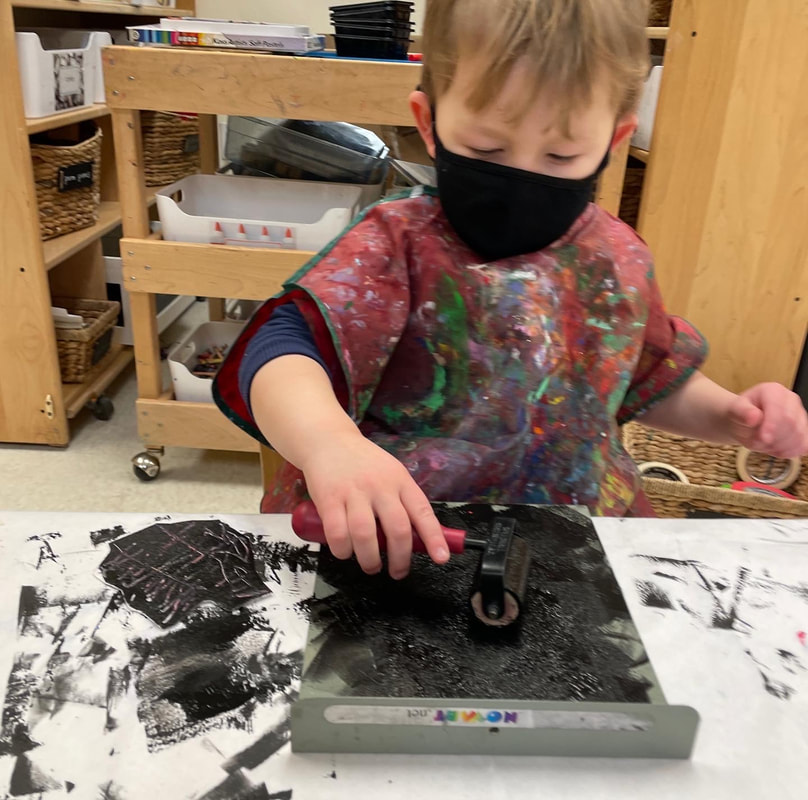
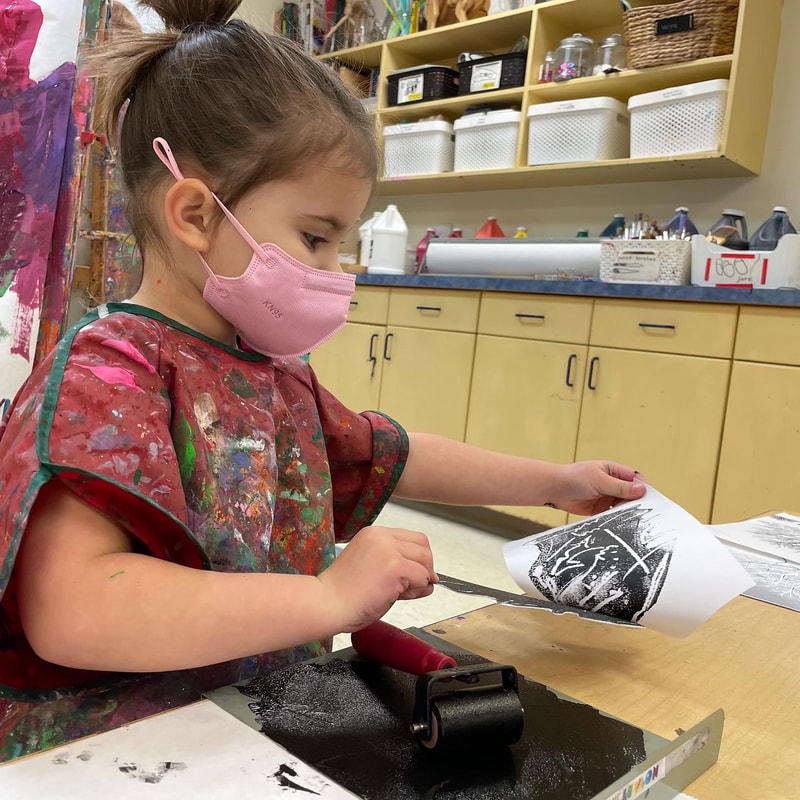
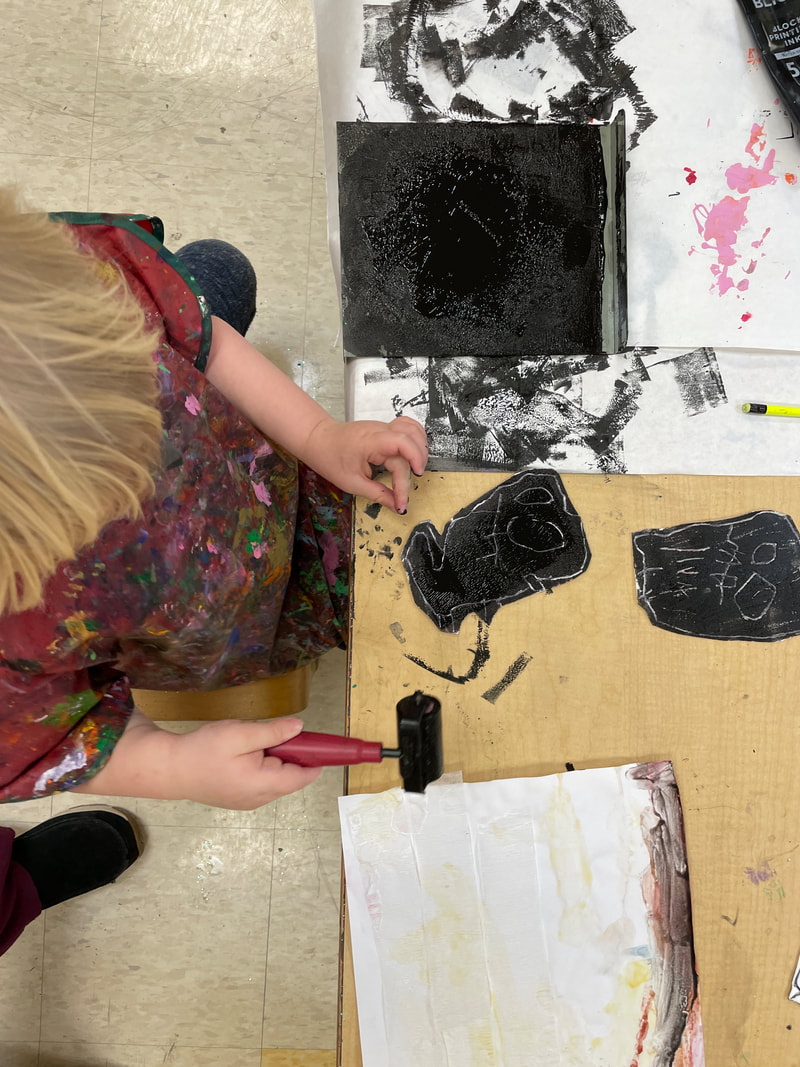
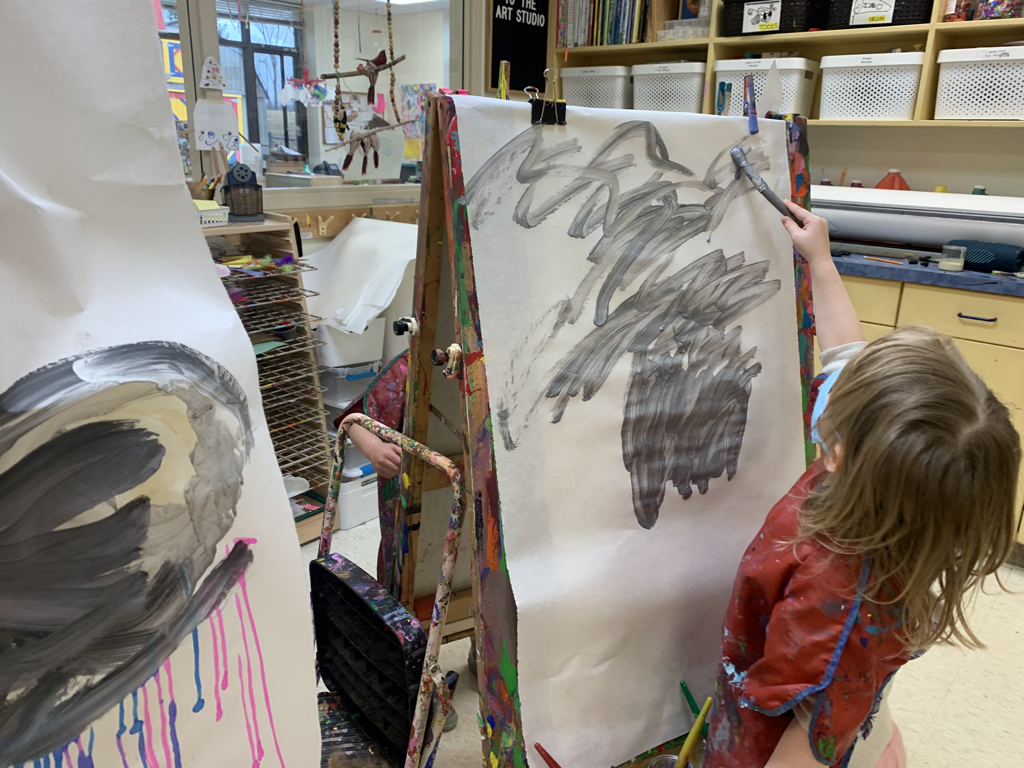
After our snow people were complete, we started a winter landscape project. I read Over and Under the Snow, another winter favorite, and we discussed the definition of "landscape". We used crepe paper with glue and a little glitter to create the snowy ground, and watercolors to paint a winter sky. The next day during art time, we looked at photos of winter trees and noticed that there are no leaves, but lots of branches. Each preschooler drew a winter tree (a few opted for characters instead) with black sharpie on foam. I gave a little assistance with carving over their drawn lines and cutting out the shapes. Then, it was time to print! When we talk about printmaking in the art studio, we say that we can make copies of our drawings. First, we roll the ink onto the foam, then we press the paper on top of the foam and give it a "backrub". The process is messy, fun, and satisfying! Each preschooler made a practice print on a white piece of paper, then we used our foam to print trees and forests on our winter landscapes. The finished artwork is the definition of a winter wonderland! I love that each tree and landscape is as unique as the artist who created it! 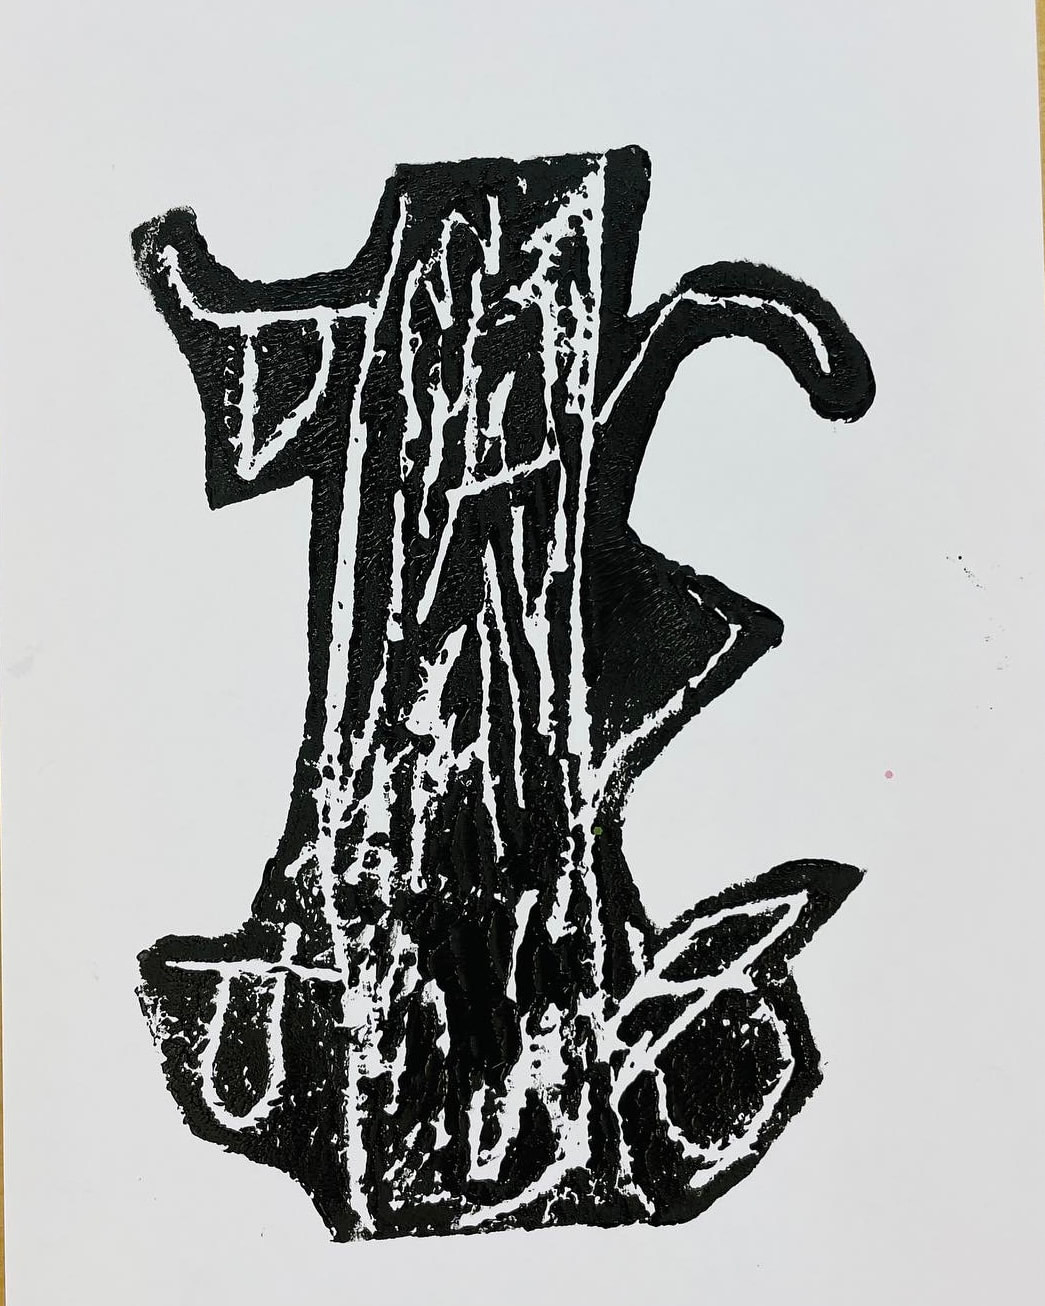 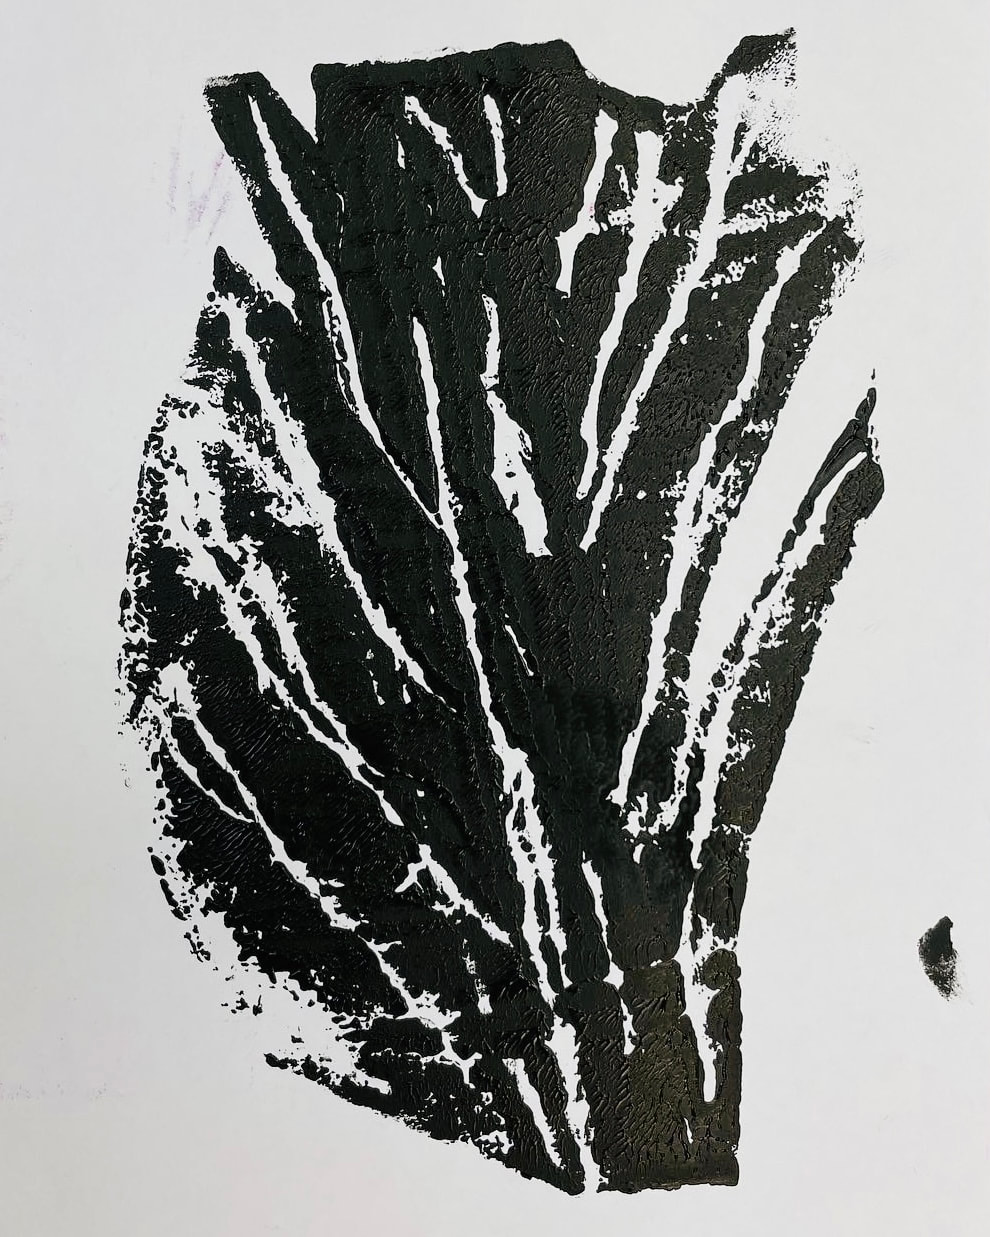 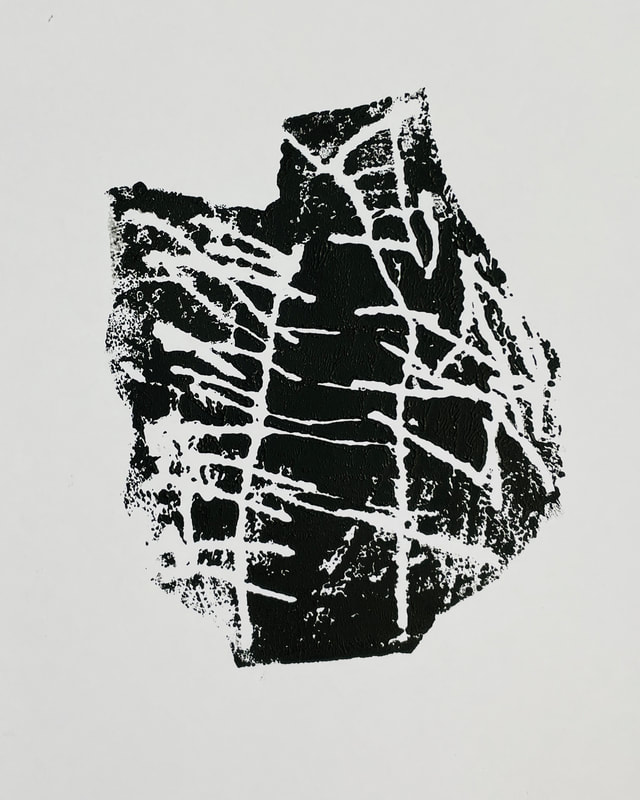 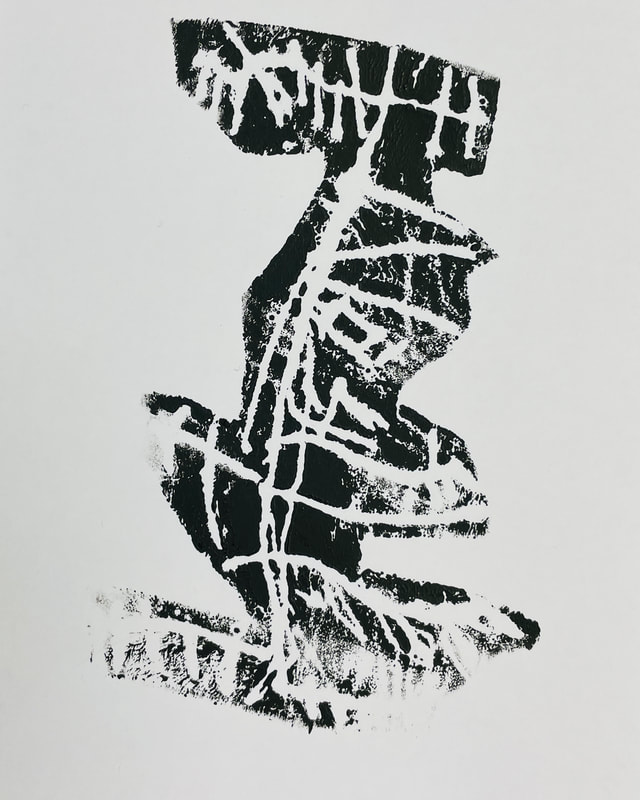 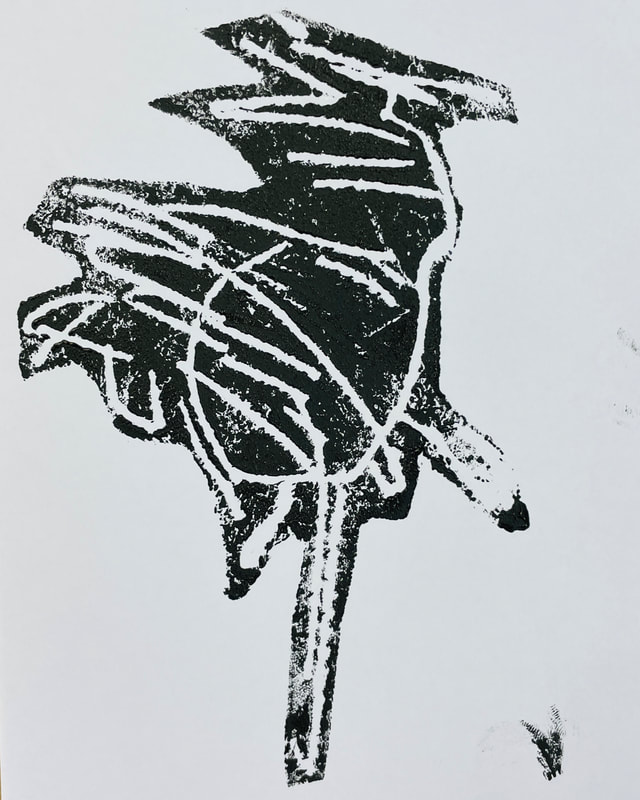 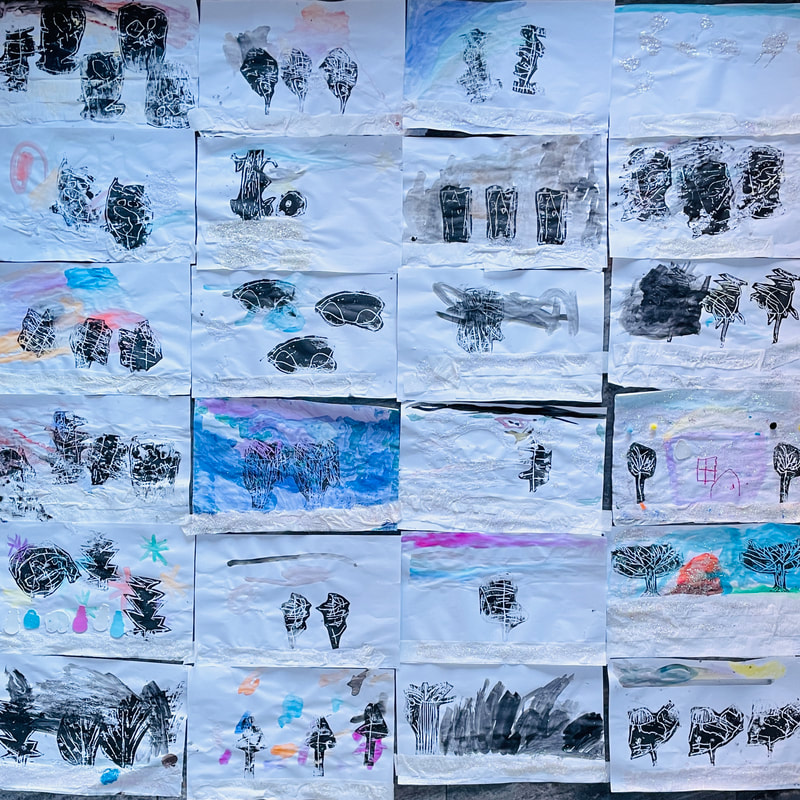
0 Comments
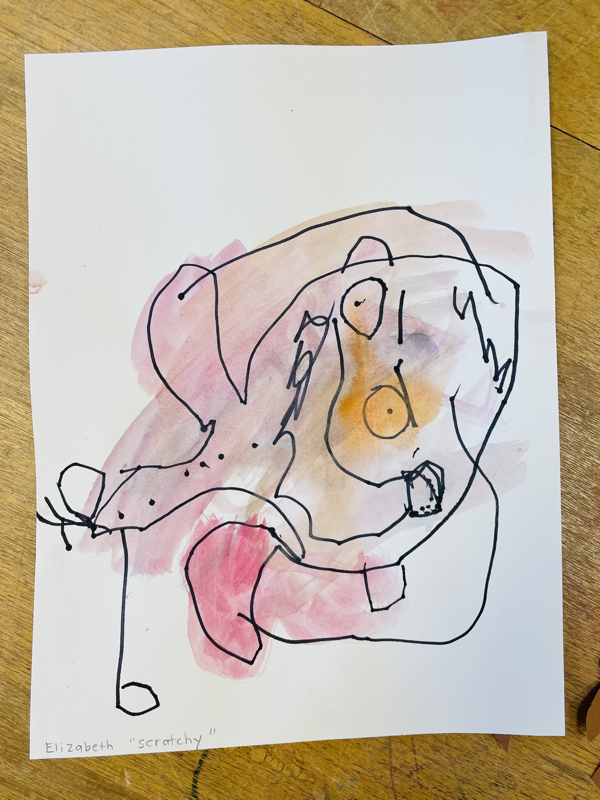
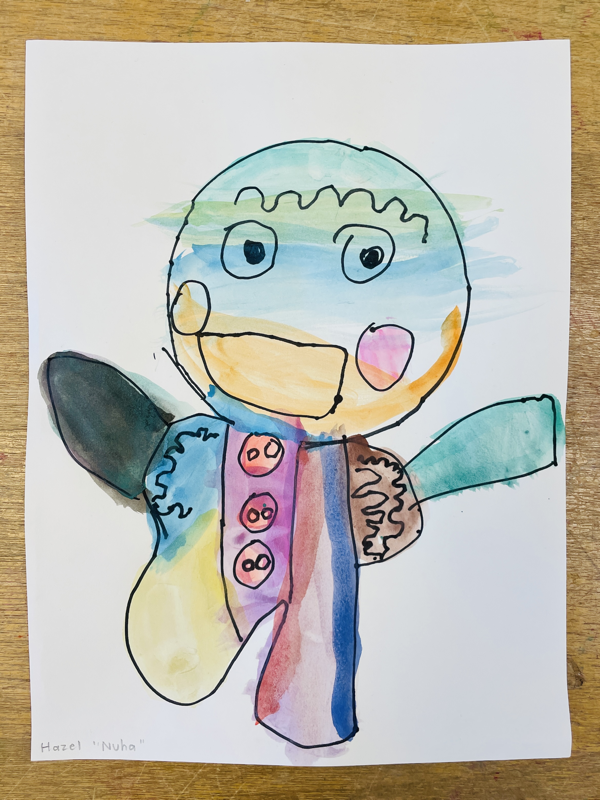
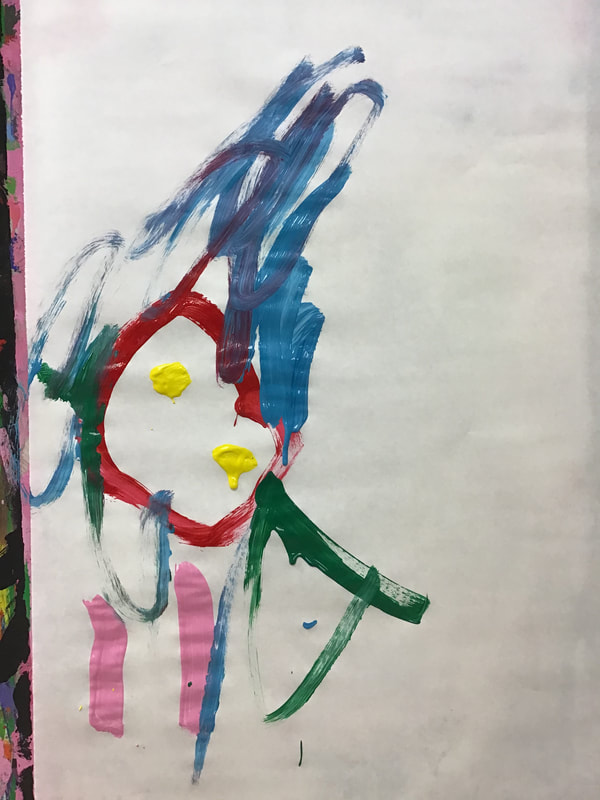
It has been all about the gingerbread in the art studio these days! We brought in the display case, and a few 5 dayers transformed it into a gingerbread village. You can see their creations in the 5 day window this week. During guided art time, the 3 day and 5 day classes heard The Horribly Hungry Gingerbread Boy and we noticed that even though it was a different story about a gingerbread cookie the cookie still "came alive" and was out running. Then we had an "art challenge" to create a gingerbread drawing with black sharpie. We used traced tape rolls to help us make a round head, then talked about how to draw each part of the body. Finally, we added color with watercolor paints. The finished portraits have so much personality!
 All three classes heard the story The Gingerbread Man Loose at Christmas (the ICPL has a whole series of these books if you're looking for some fun books to check out!). We decorated a paper gingerbread "cookie" and then drew them a place to be "on the loose"! The locations are imaginative, varied and so fun to hear about from the artists!  The kids have been doing lots of other fun gingerbread activities in their classrooms, as well - I'm sure you'll hear all about it!! Happy Holidays!   Chilly November days are here, and the trees are dropping their leaves. Each class spent three art periods on this project. First, we read "In November" and talked about how the bare trees have big trunks, branches that stretch out, and smaller branches that grow from the medium branches. We drew our November trees with brown oil pastels and colored pencils. I cut out the trees and B&W photos of each kiddo. The next day, we glued the trees to a background paper and drew ground for our feet and trees and a sky featuring any November weather.    Finally, we spent the third day looking at our collages to see what details we could add to tell the story. Some kids chose to glue on paper leaves, draw pumpkins or other plants, or add color to their clothing and bodies. We also spent time sharing our artwork with the group and noticing how we all had unique ideas and details. They look really fun together in the classroom windows - like the kids are all together in a forest of fall trees!
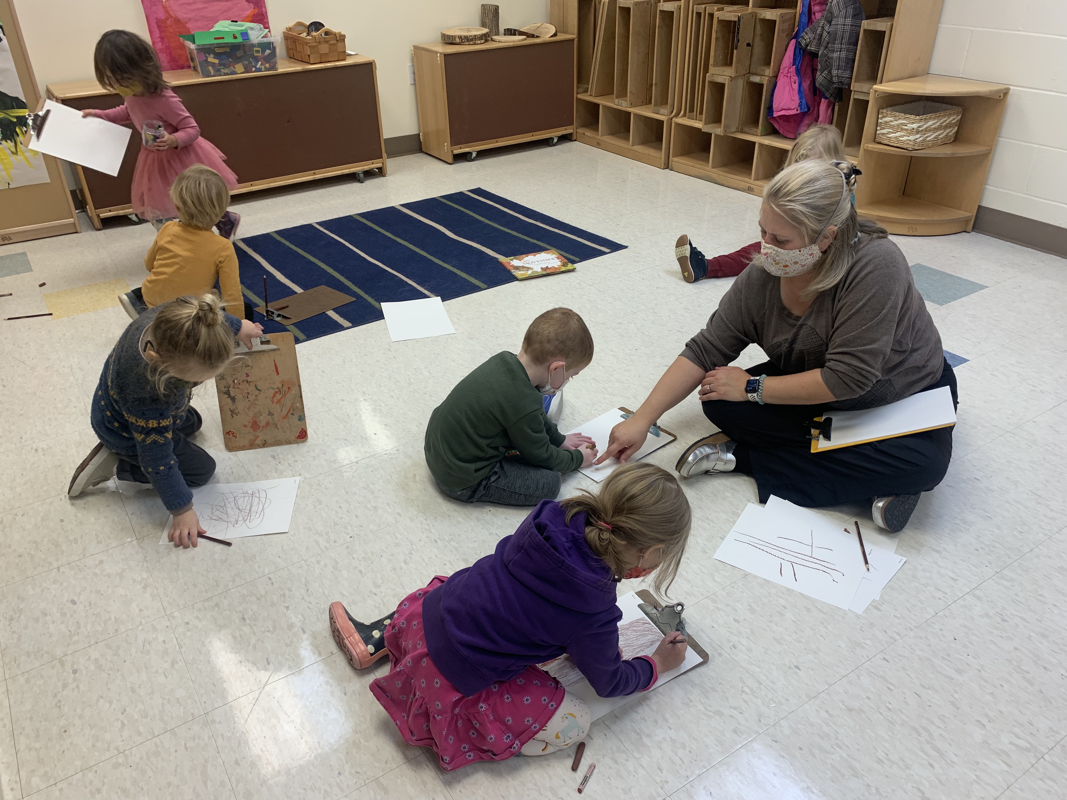
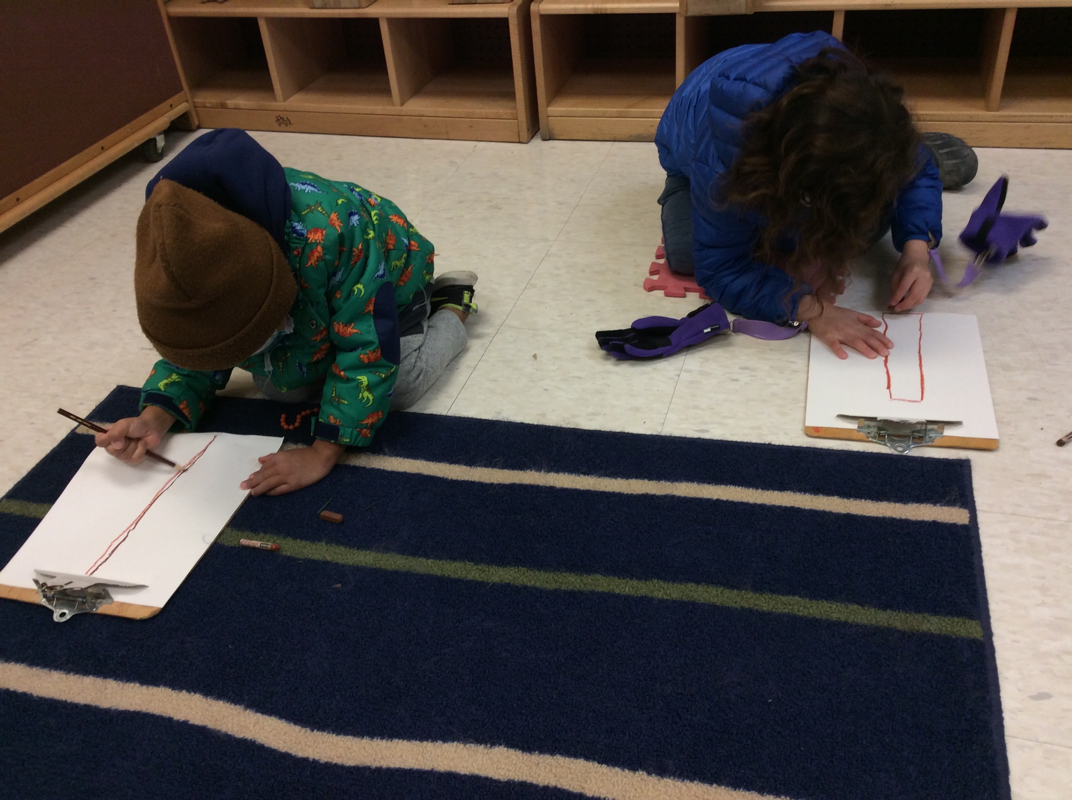
 We've had lots of fun creating art in October - monsters, pumpkins, and ghosts, oh my! One of my favorite projects was the series of ghost prints that each student created. 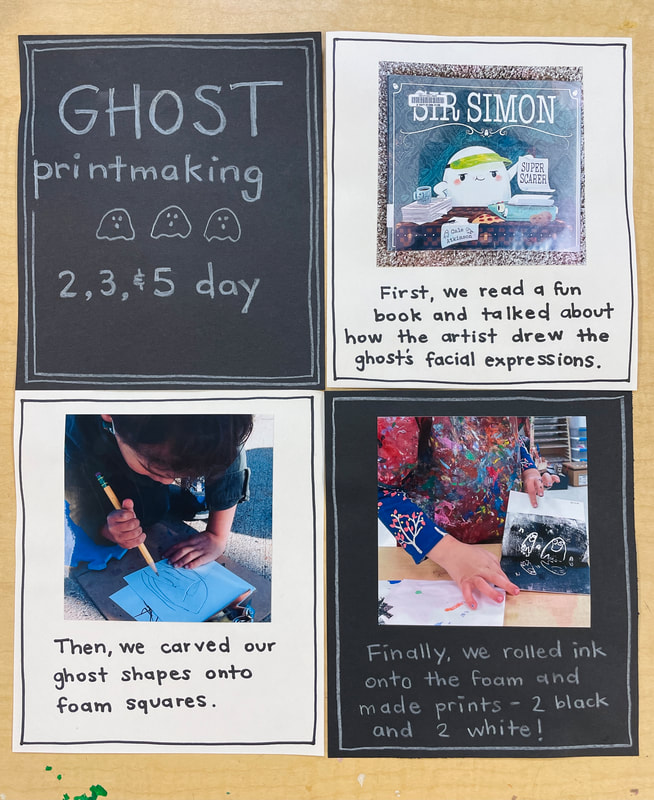 Be sure to check out the full window display next week - they look so fun hanging all together! Last week, all three classes drew dinosaurs during our guided art time. The wooden dinosaurs were created years ago by an eastern Iowa artist and some of his collection was donated to our school a few years ago. Several students have been interested in the large dinos that sit high in the art studio, so I pulled them down this week for still life drawing. First, we talked about how our eyes are an important artist tool. We used our eyes to notice the similarities and differences between the wooden sculptures. Then we talked about how we can draw a dinosaur (or any object) by looking at the different shapes/parts and drawing one at a time. We started by drawing with pencil, then some artists decided to add color. While the students were drawing, I read two fun dinosaur storybooks - How Do Dinosaurs Go to School? and What the Dinosaurs Did at School. Regardless of the preschoolers’ artistic developmental level for drawing representationally, all the kids did a great job looking, noticing, discussing and drawing the parts of our dinosaurs.   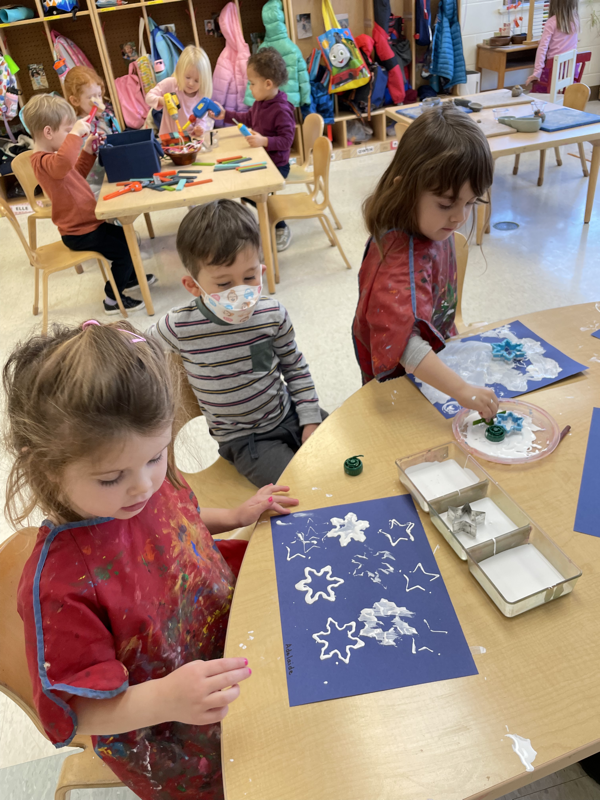  
I look forward to creating with you this year!
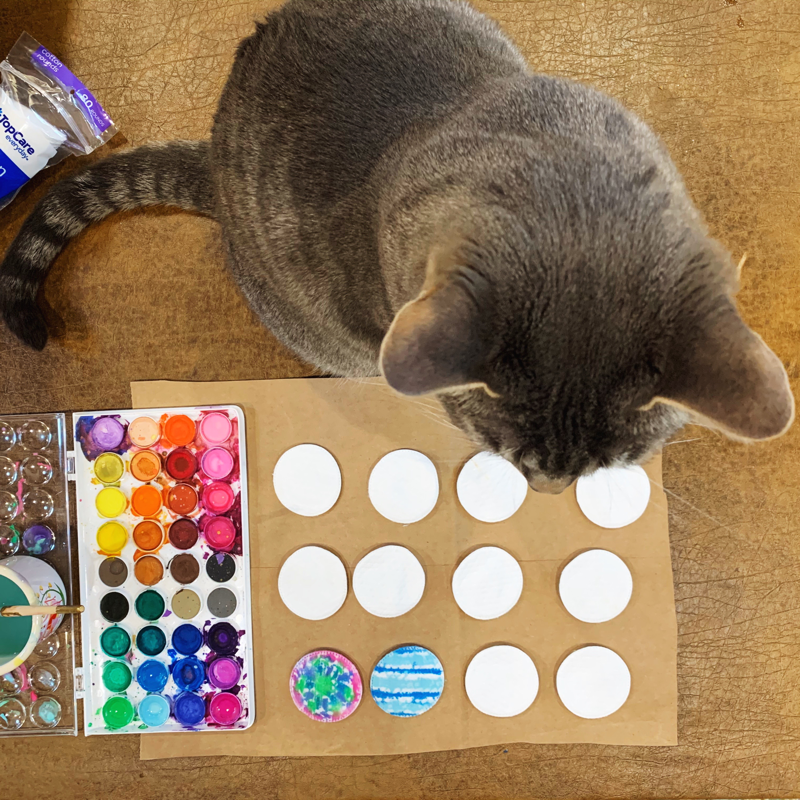
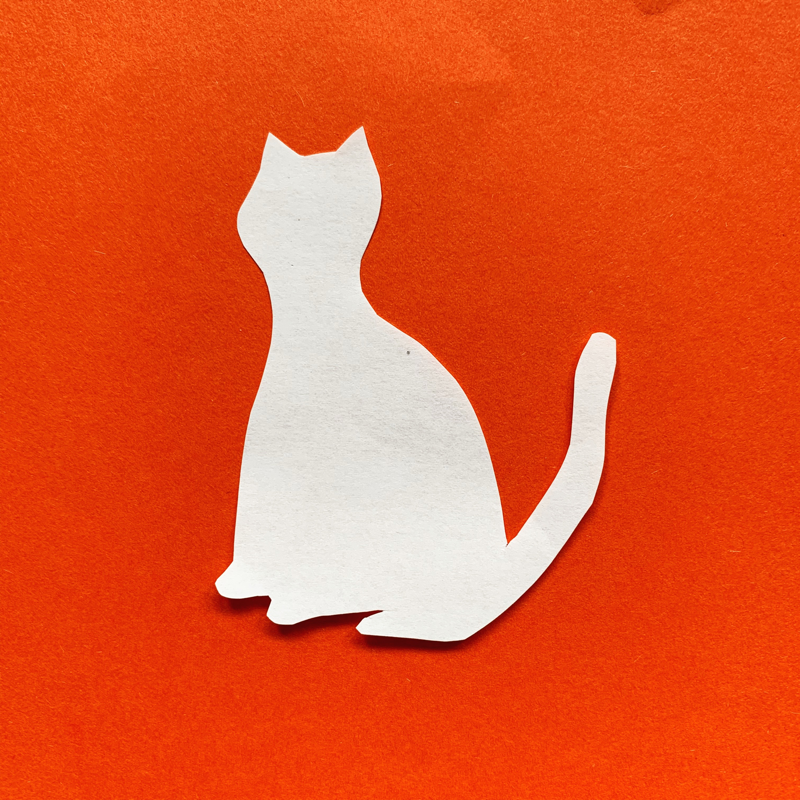
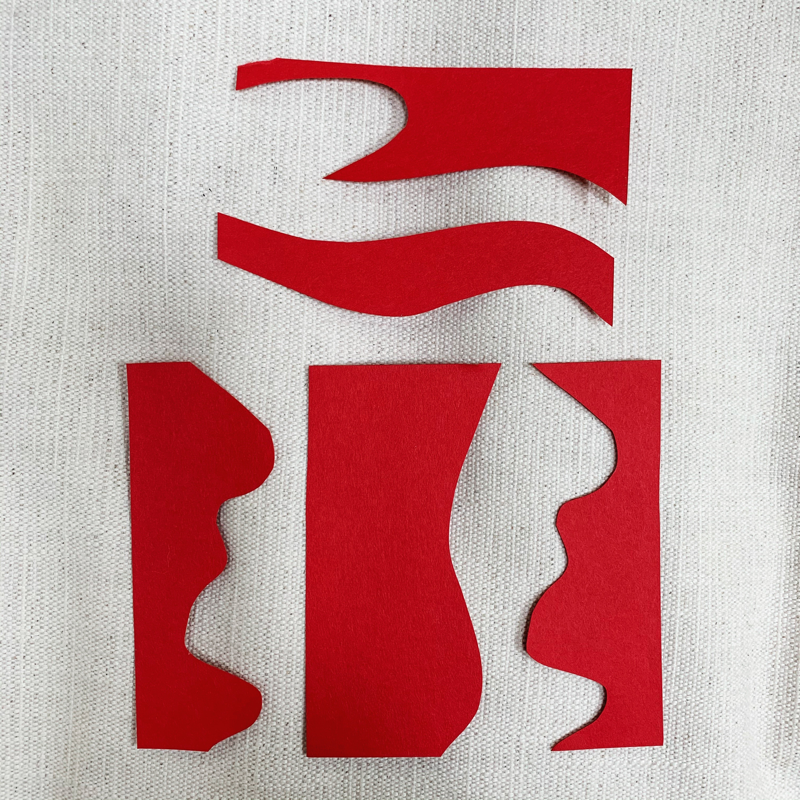
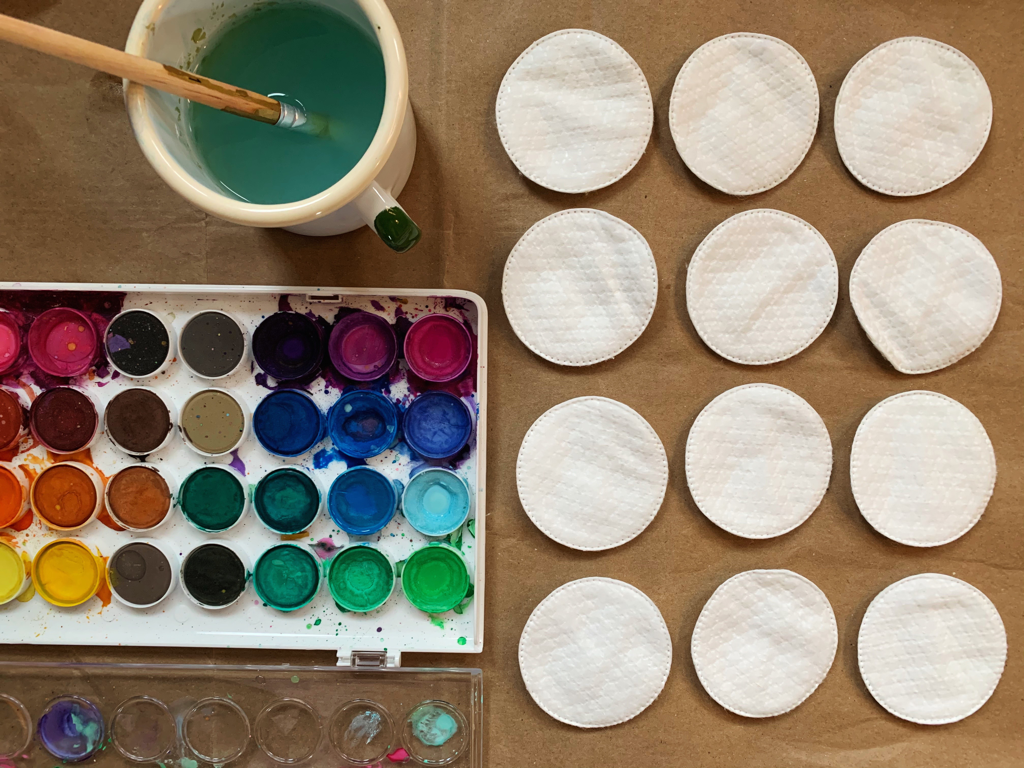 Today’s simple art invitation is to set out cotton rounds to paint with watercolors. I got this idea from the book Play Make Create by Meri Cherry. It is an excellent resource for inspired art invitations for preschool and school age kids, and also has sensory recipes and other art project ideas. I recommend following her Instagram account if you use that app. I picked up a package of cotton rounds with my last grocery pickup. They were $1.99 for 80, so a bargain for an art supply. The novelty of the round shape and the cotton material are interesting for the kids to explore. If we were at preschool in the art studio, we would try this with liquid watercolors. They have bright, saturated colors and you can use droppers to drip the paint. However, watercolor paints and a brush work just fine! If you’re lucky, you might even have a cat assistant! Today's Invitation was inspired by the artist Matisse and the book Matisse's Garden. You can watch Kirsten's read aloud and tips for cutting curves here. 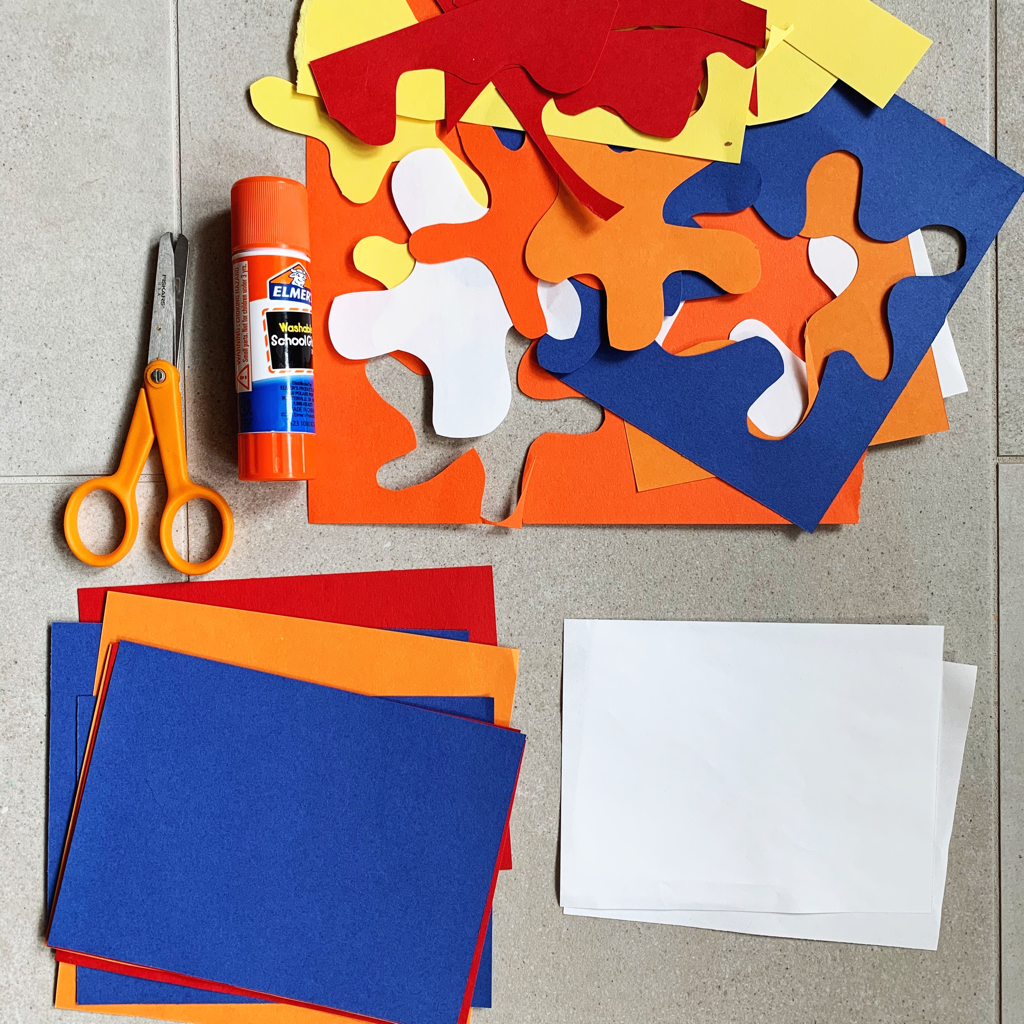 Invitation ingredients - scissors, white paper, colored paper (mine is cut to 4.5 x 6") and a glue stick. Invitation ideas: • In the book, Matisse started by cutting a bird from white paper. What animal can you cut from white paper? • After white paper, Matisse started cutting from colored paper and experimenting with color combinations of the shape + the background. What is your favorite color combination? • Matisse discovered that the "leftovers" from cutting shapes could be part of the final composition. Arrange some of your leftovers and glue them into a collage design. • Matisse used cut paper shapes to represent items he saw around him - can you find something in your home or yard and make a paper cut out to represent it? Or just have fun cutting and gluing! I'd love to see what you create! The Tate museum in England has some fun resources for kids to learn more about Matisse.
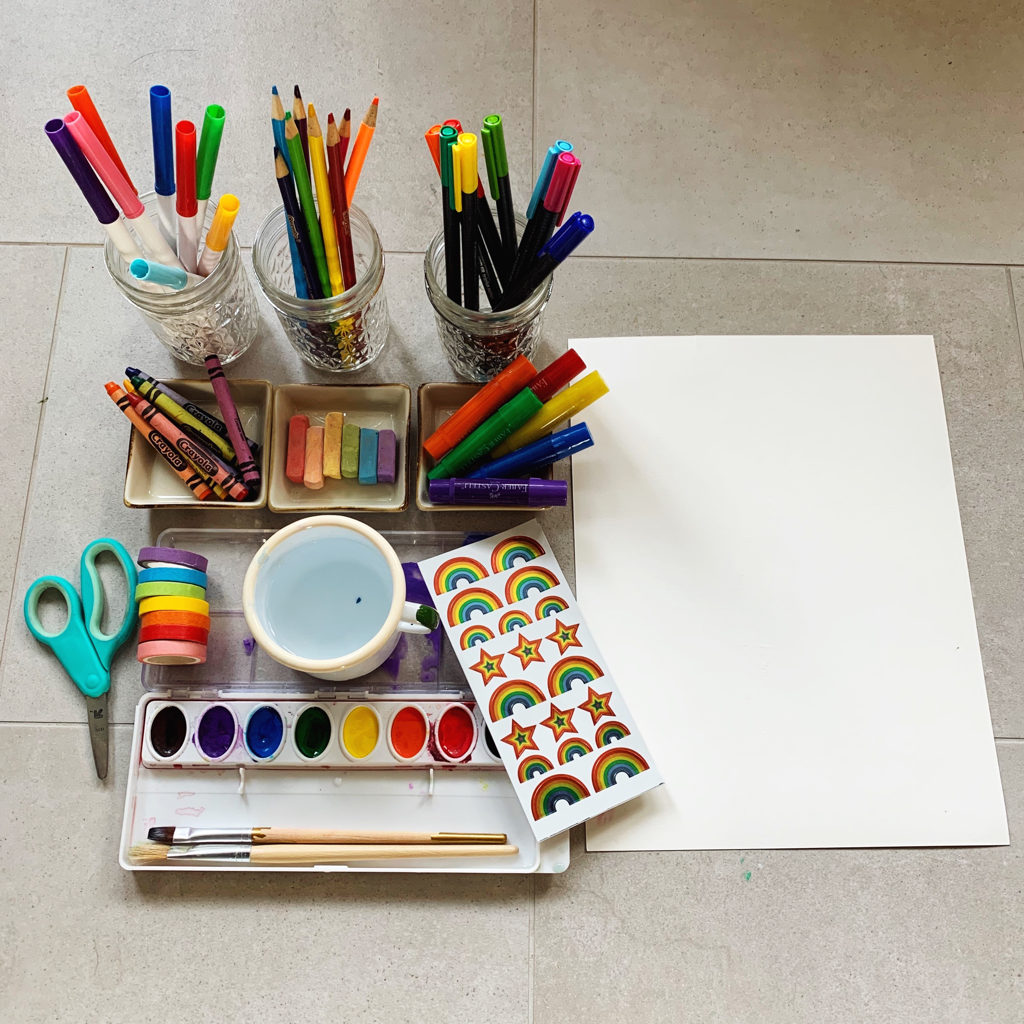 I gathered a variety of supplies I had on hand, but curated and presented only the rainbow colors. From top left to bottom right: Thin markers, colored pencils, colored pens (Staedler triplus roller from RSVP), crayons, artist chalk, gel sticks, rainbow tape (RSVP stocks lots of fun washi tape as well), watercolors and rainbow stickers. Mine are just crayola paints, but these are the high quality paints we have at preschool. Including a few links if you're in the mood to shop for art supplies. Both Dick Blick and RSVP in Iowa City are doing curbside pick up.
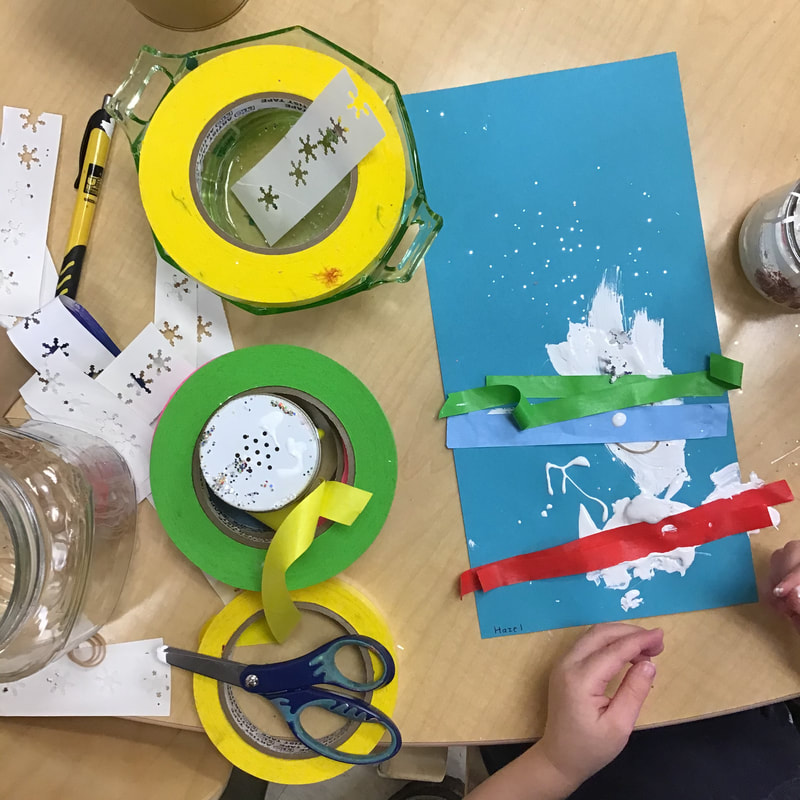
Of course the rainbow display is inviting, but it's also inviting to children when you let them use the good/fancy art supplies. It's ok to give some guidelines about how to use them. I also recommend thicker paper for this invitation - such as watercolor paper. For a related read aloud video see: Monsters Love Colors 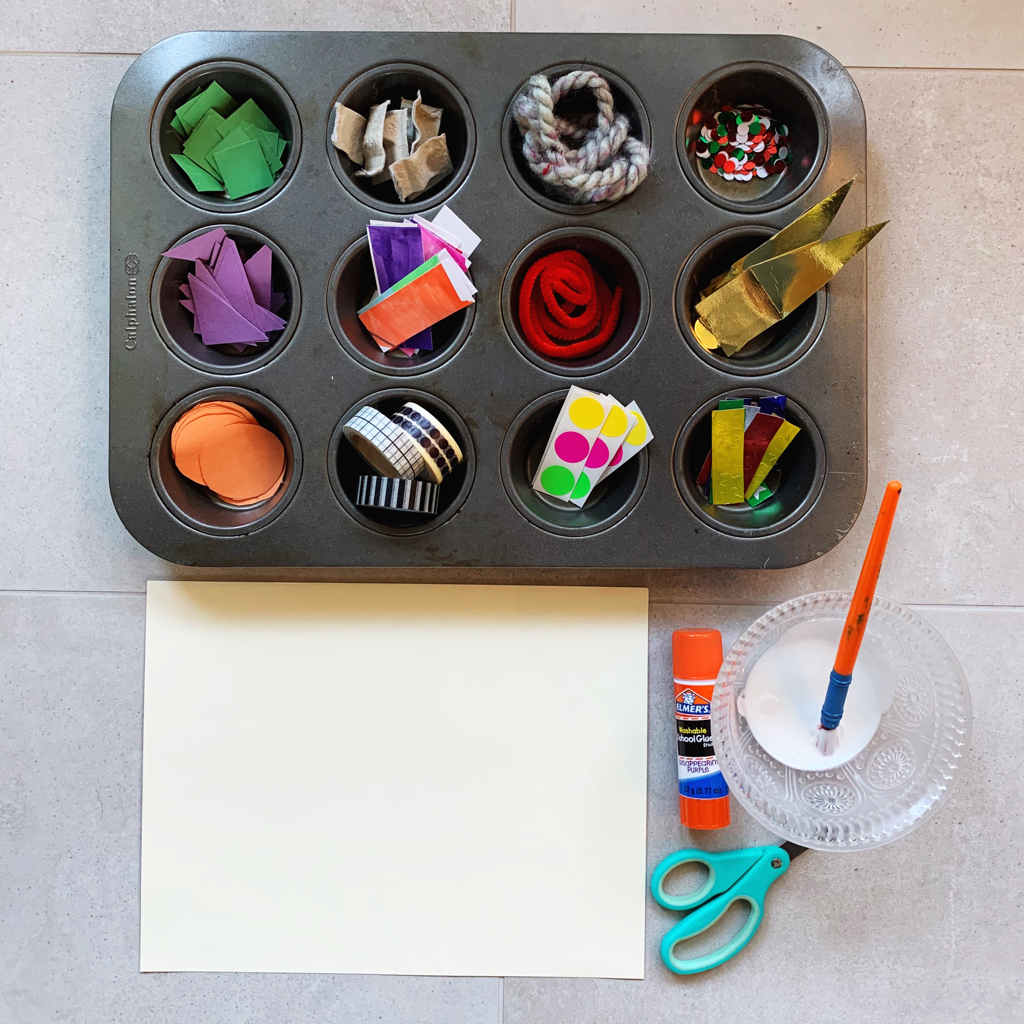 This collage invitation is all about the novelty of the grid of circles holding the items. What's inside the circles doesn't matter as much, I gathered up some supplies that were on our art table. I took a few minutes to cut squares, triangles, and circles to go along with today's shape book.
Scissors and glue are provided, and the paper is cardstock - it will hold up better than drawing paper or printer paper. A rectangle of cardboard would be a great option for a collage base as well. For a related read aloud video see: The Shape of Things |
Kirsten Williamson
Art Studio teacher Archives
January 2022
Categories
All
|


 RSS Feed