|
We've had lots of fun creating art in October - monsters, pumpkins, and ghosts, oh my! One of my favorite projects was the series of ghost prints that each student created. 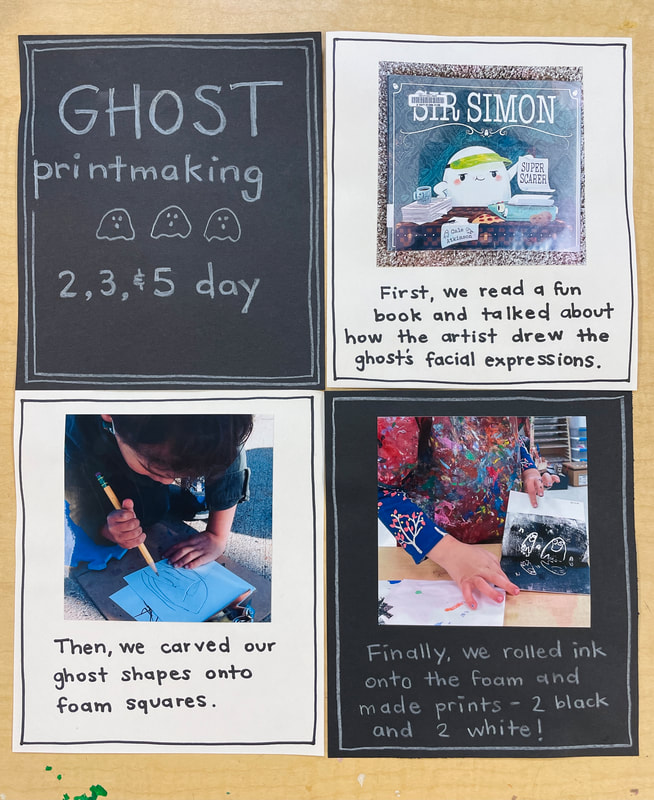 Be sure to check out the full window display next week - they look so fun hanging all together!
1 Comment
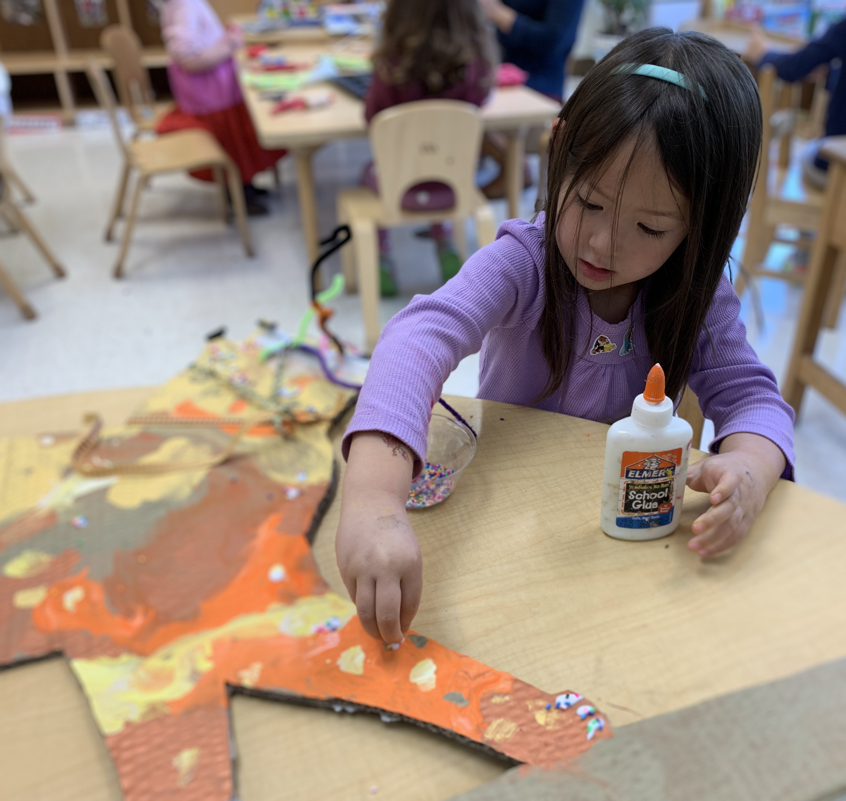
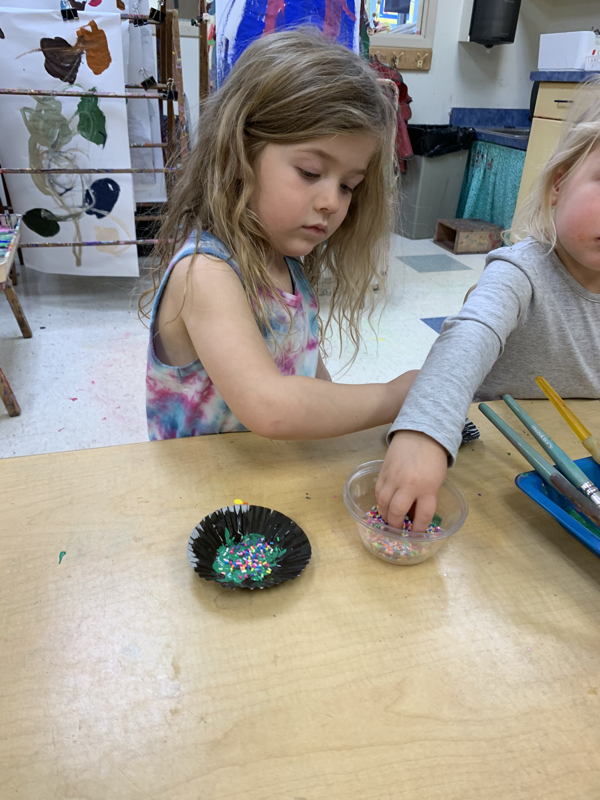
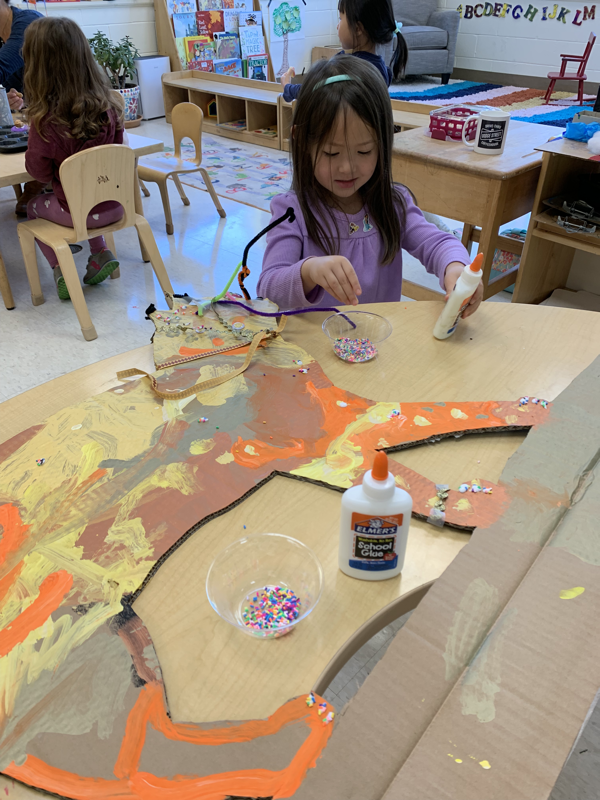
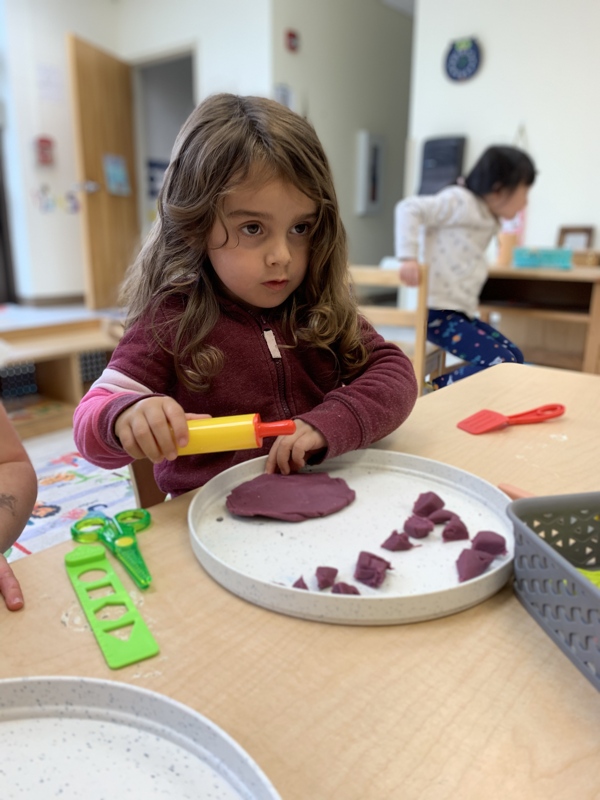
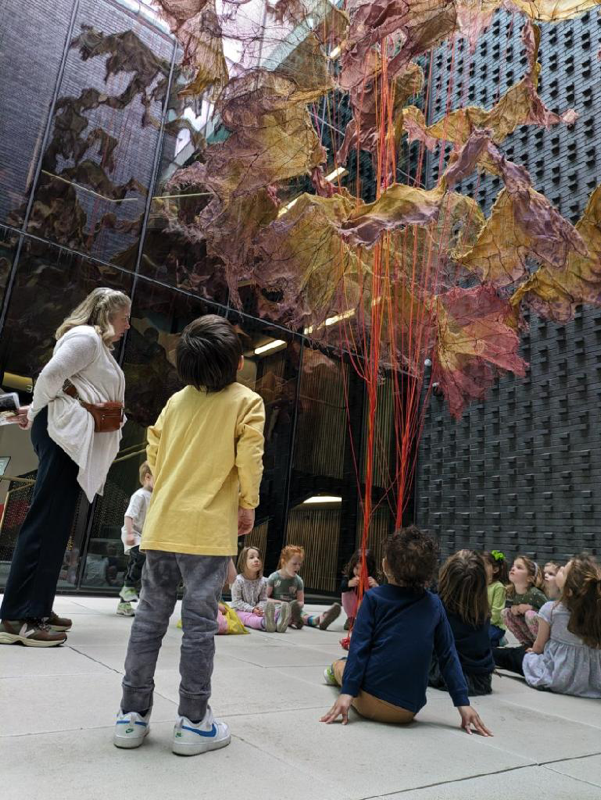
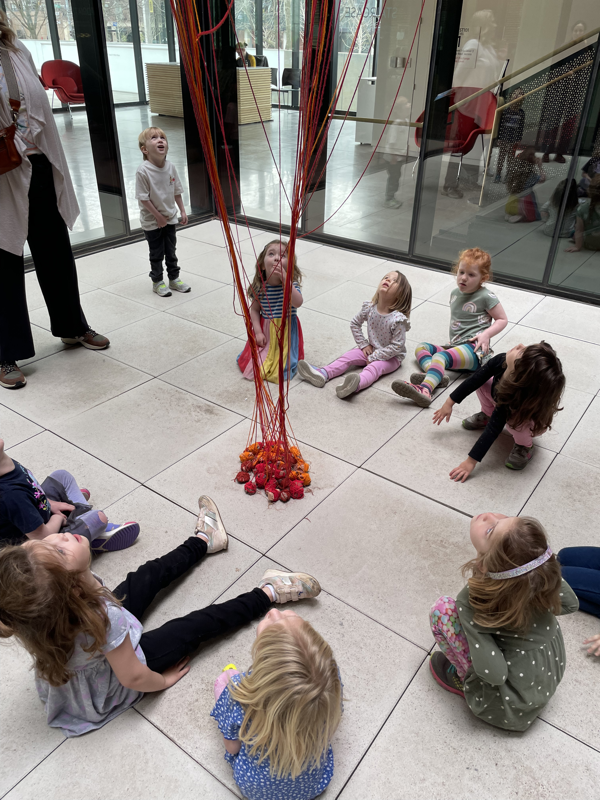
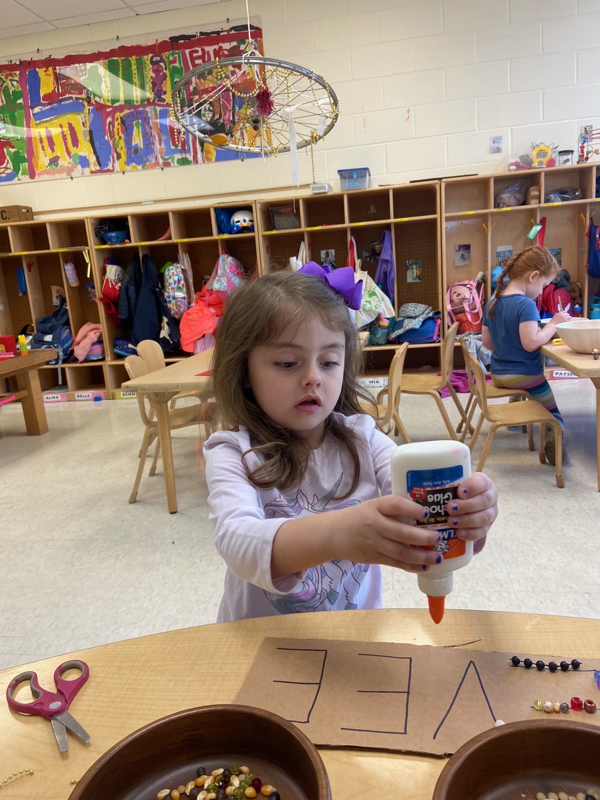
 The October fall colors inspired our marble painting colors. We had such fun moving the boxes to roll the paint-covered marbles across the papers. More October inspiration came in the form of pumpkins and squash to draw and paint from. I decided to display both pieces together because the colors and textures were so lovely and fall-like.  Preschoolers love to mix colors. The experience of watching two colors become a new color feels like magic, and is a great way to learn about color. We have been talking about the primary colors: red, yellow, and blue. They are the beginning of our color mixing vocabulary, because they can be combined to make the secondary colors and beyond. One morning I set out a variety of supplies in the primary color group, and students enjoyed combining stickers, tape, dot markers and other items to create bright compositions. The color combo also started showing up in paintings on the easels.  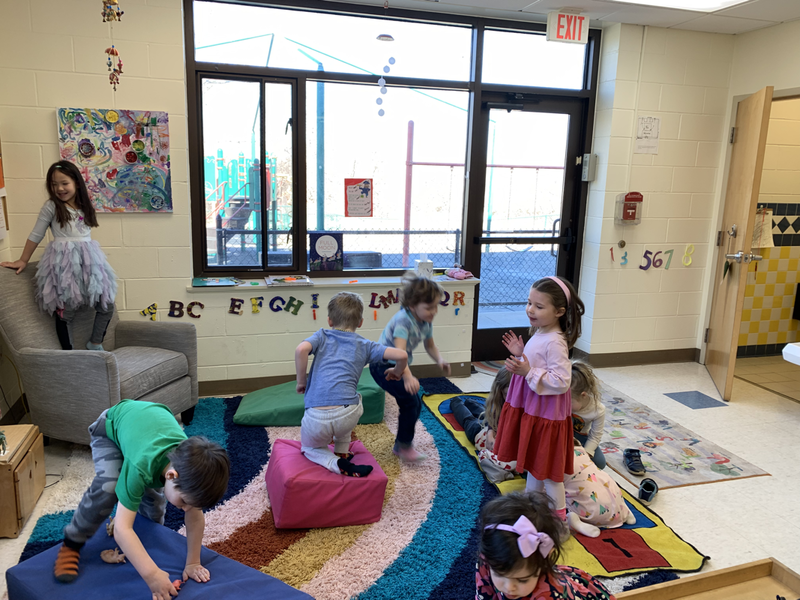 We practiced color mixing on the light table (while it was covered with a clear plastic shower curtain). While this experience was all about the process and tactile experience of squeezing out paint and blending colors, some students decided to place a paper on top of their creation and make a mono-print. 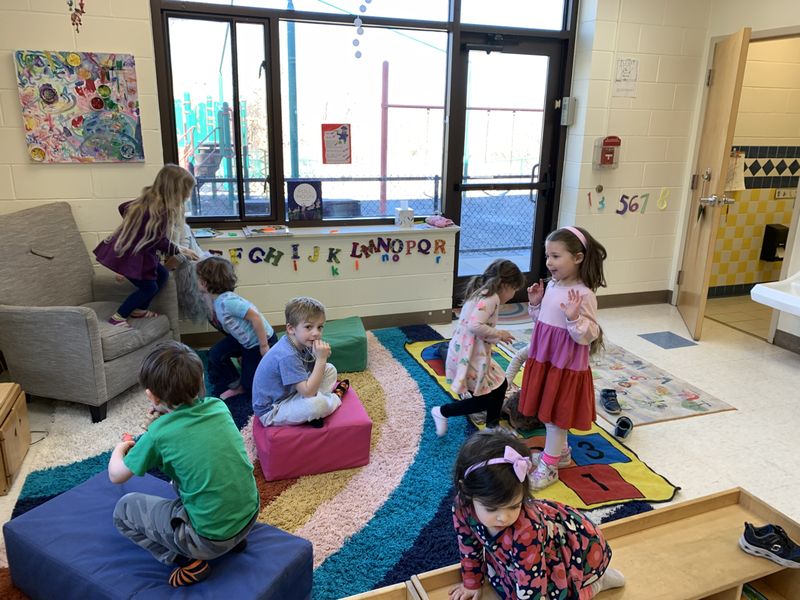 We also explored primary color mixing with liquid watercolors. Their rich, bright pigments are satisfying, and especially fun to add to the watercolor paper with liquid droppers. I love to see the results all together! 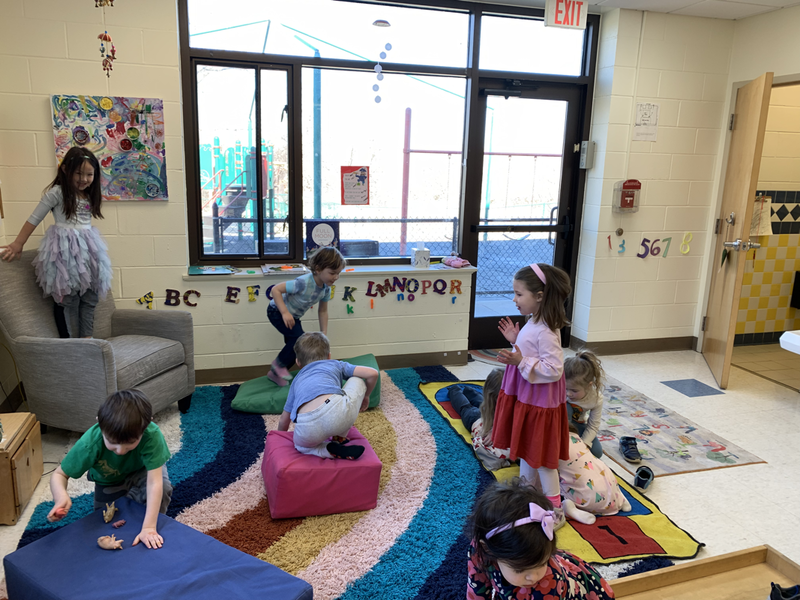  This month we spent a few days creating "puffy hearts" to decorate the Art Studio for Valentine's Day. First, each child made a black line drawing on two heart-shaped papers. Then, they added color with watercolor paint, and finally, we stapled together the two shapes a stuffed them with paper. As always, they are lovely individual artworks, but fun and striking to view as a group.  This month we have been creating yarn prints in the art studio. This project gives students a chance to try 3 different media/techniques on one piece of artwork, and to learn about how art can change when you revisit it and add layers.    The first step was to glue yarn onto a piece of cardboard. I didn't give any more guidelines than that, so some students just put one piece of yarn onto the rectangle, while others added a clump, or spent a long time creating a design with lines.  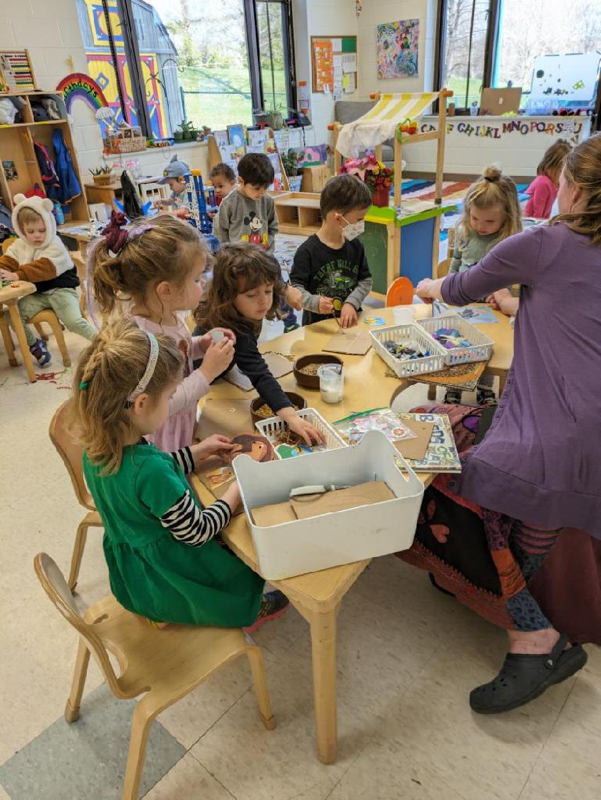 Once the yarn dried, we used brayers to roll black ink onto the yarn. Then we placed a piece of paper onto the yarn to make a print. Finally, students added color with oil pastel. Again, I didn't give any instructions except that they add color. Some students added just one color, others scribbled a few colors all over the page, and some chose to follow the lines of their yarn print. I love the variety and how the children experimented with different ways of mark making.  |
Kirsten Williamson
Art Studio teacher Archives
January 2022
Categories
All
|


 RSS Feed